You Can Roast Coffee For Free...But Here Are 4 Better Options
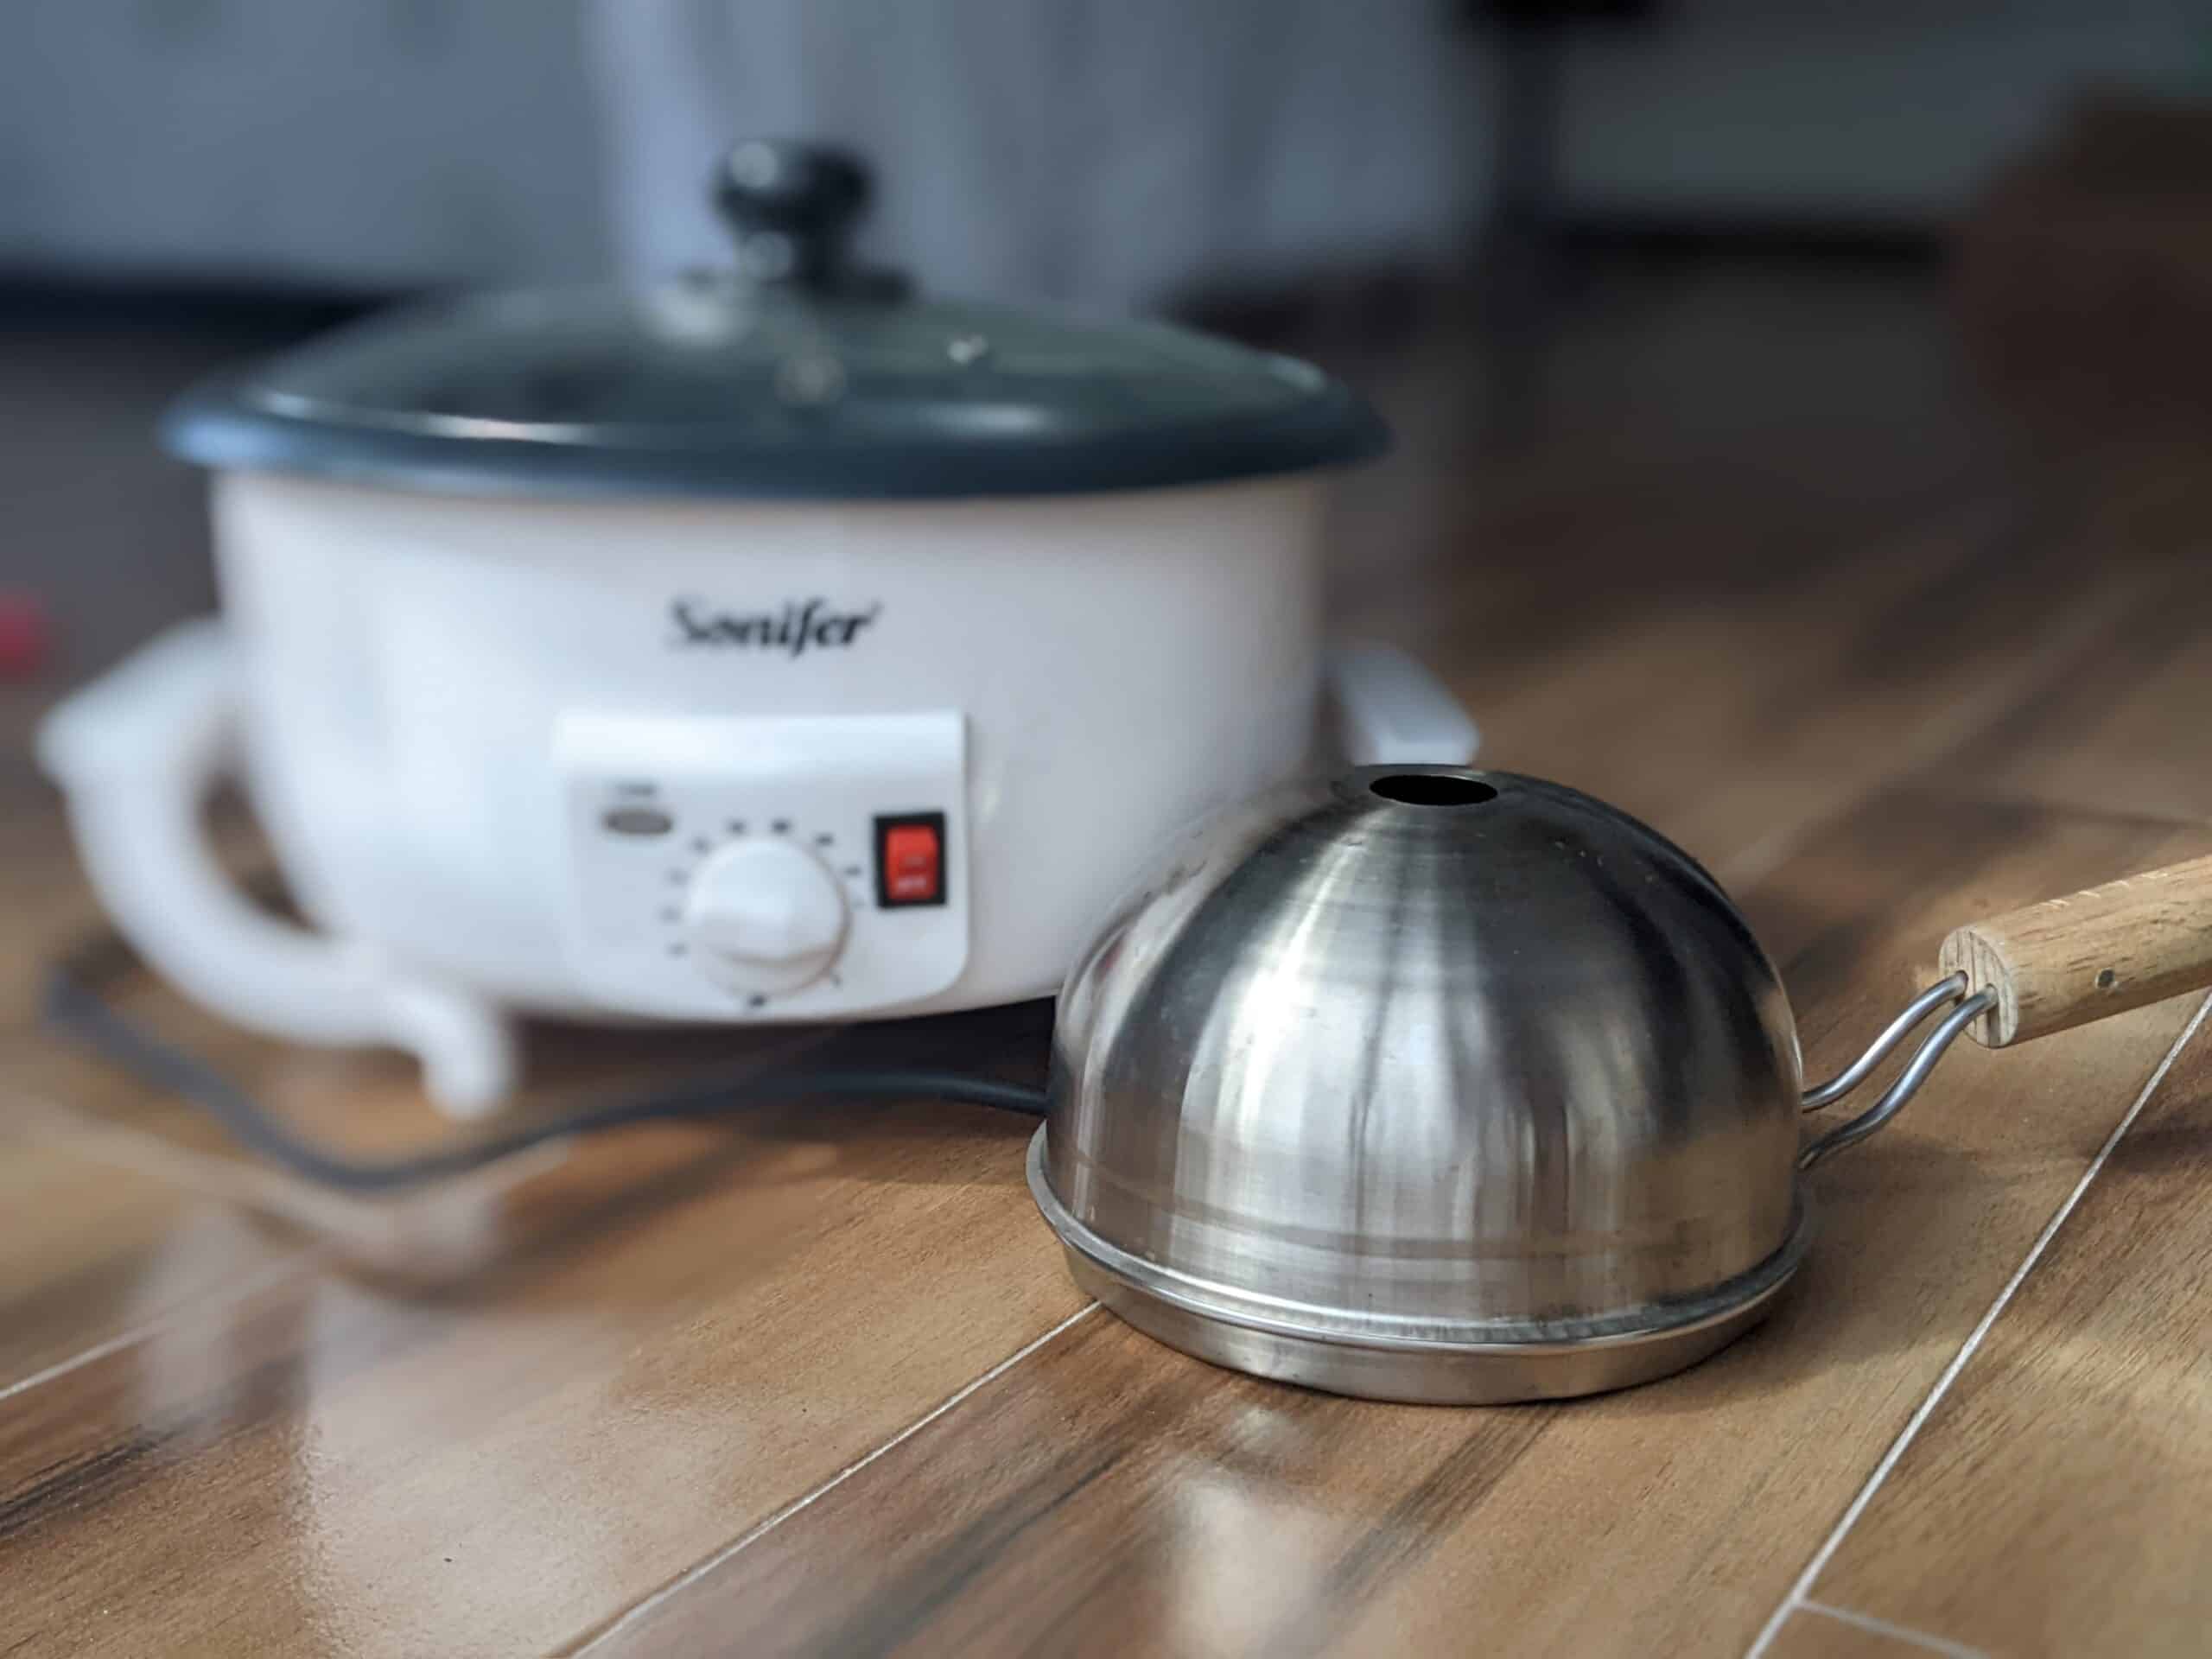
Roasting your own coffee can be delicious, cost-effective, and a wonderfully satisfying hobby.
It does require some equipment, but there's no need to go all in on gear just yet. In fact, you may not even need to spend a penny beyond the cost of green beans.
The cheapest way to roast coffee is in a skillet on your stovetop, or on a baking sheet in your oven. However, these methods are difficult to control, so they aren't very representative of the coffee roasting experience. You'll have an easier time, more fun, and better coffee by spending about $30-$70 on any of the simple devices I'll cover below.
Why your oven or stovetop might suffice
Coffee beans need to reach an internal temperature of about 370-440°F. Anything that steadily produces slightly higher heat (since it's not all transmitted) is capable of roasting coffee. That's why a stovetop, oven, or even campfire are all it takes for rudimentary roasting.
Even the most complex, costly commercial roasters do one simple thing: agitate beans under controlled heat. Of course they do plenty of other things—more on them later—but that's the core of it.
Since you probably already have what you need, check out these roasting instructions as a starting point for skillet or oven roasting.
Remember, ventilation is critical! A good range hood should do the trick, but it's wise to open windows and turn on fans to minimize inhaled smoke.
Where can I buy green coffee beans?
You probably won't find green coffee beans at the supermarket. In the unlikely event that you do, they're probably sold at outrageous prices as a (highly dubious) health supplement.
Instead, look to specialty shops like Sweet Maria's, which is my personal go-to and one of the most respected distributors on the planet. I've ordered hundreds of pounds over the years, and each was nothing but good quality relative to its origin and type. (Storefront aside, they also have a genuinely encyclopedic website.)
How much green coffee should I start with?
You'll need to experiment with several batches of about 4-8 oz, depending on your roasting method, so it's worth buying a sampler pack to minimize the cost of learning. They work out to a hair over $5/lb before shipping from Sweet Maria's, so you won't break the bank on those inevitably bad first batches!
Besides, the variety will also help you learn how bean size, density, etc. impacts the roasting process. You can get the gist of all that through reading, but hands-on experience is more instructive.
What are good, cheap alternatives?
Free methods are fun to try out, but they get old.
The biggest upgrade—without spending a ton—is something that agitates the beans for you.
You'll quickly find that it's hard to agitate beans in the oven (it requires opening the door and stirring) and it's tiring to shake a skillet over the burner. And despite your best efforts, roasts still tend to come out uneven, potentially scorched in places, and wildly inconsistent from batch to batch. This ultra-manual experience is a great introduction to the roasting process, but it makes for a frustrating hobby and lackluster results.
Precise heat control is also extremely helpful, but that requires spending $100+ on the low end. Here are my top three cheap alternatives to oven or skillet roasting, plus one pricier but excellent step up.
(By the way, I've roasted dozens of pounds of coffee on all the below. None is perfect, but each is worth trying!)
Upgrade 1: Electric popcorn popper
Any hot-air popper with vents on the inner walls serves as a decent coffee roaster. This example costs just $20 and includes a free 4-lb sample pack (which is otherwise about $20 on its own), so it's essentially free to try.
The circulating air will move the beans enough to avoid scorching, but you do have to be precise about the mass of beans. Too many beans are too heavy to circulate, so you'll end up shaking it until they dry slightly. Too few beans won't retain enough heat, so the roast may develop too slow.
There are ways to "hack" the electronics and auto heat shut-off, but proceed with caution.
Either way, capacity is tiny, so hot-air poppers are not ideal for more than a single coffee drinker. I never had issues doing a couple of consecutive batches, but it's probably wiser to let the heating elements cool in between.
(It came to my attention that someone created a coffee-specific hot-air popper with time, heat, and fan speed controls. It's aptly named the Popper, and while I haven't tried it, it's a nice halfway point between a standard popper and the fancier fluid-bed roaster I'll highlight below.)
Upgrade 2: Stovetop popcorn popper
Old-school popcorn poppers were basically giant kettles with a crank for agitation. They're still around today, it turns out, and are surprisingly capable coffee roasters.
There are a couple, but the best is the StovePop for about $50. It's essentially unbreakable and maintenance-free, with no gears or cogs to jam or dislodge.
It lets you control the heat just like you would with a skillet, but thanks to the crank-and-stirrer assembly, there's no need to fatigue your arms with 10+ minutes of shaking. Batch size is easily 8 oz, and some folks report up to 1 lb. The cranking does grow tedious, but it's easy work, and lets you experiment with how agitation speed affects roast development.
Machines like this are basically electronic versions of the same thing. While they're easy to use, I find the agitation frustratingly poor, so it's hard to justify the price.
Upgrade 3: Hive roaster
For around $75, the Hive roaster is essentially a lighter and more efficient counterpart to the good ol' skillet.
The idea is the same: shake and swirl it by hand over a burner.
But unlike a skillet, the Hive uses very thin metal for light weight and quick temperature adjustment. It also has a sort of corrugated bottom that facilitates agitation, and a chimney design that helps incinerate smoke.
Once you get the hang of it, it roasts as evenly as a hot-air popper, and generally more evenly than a stovetop popper.
The disadvantages are small batches (up to 5-6 oz) and arm fatigue (I'm personally good for two consecutive batches at most).
Next level: Fresh Roast SR540 or SR800
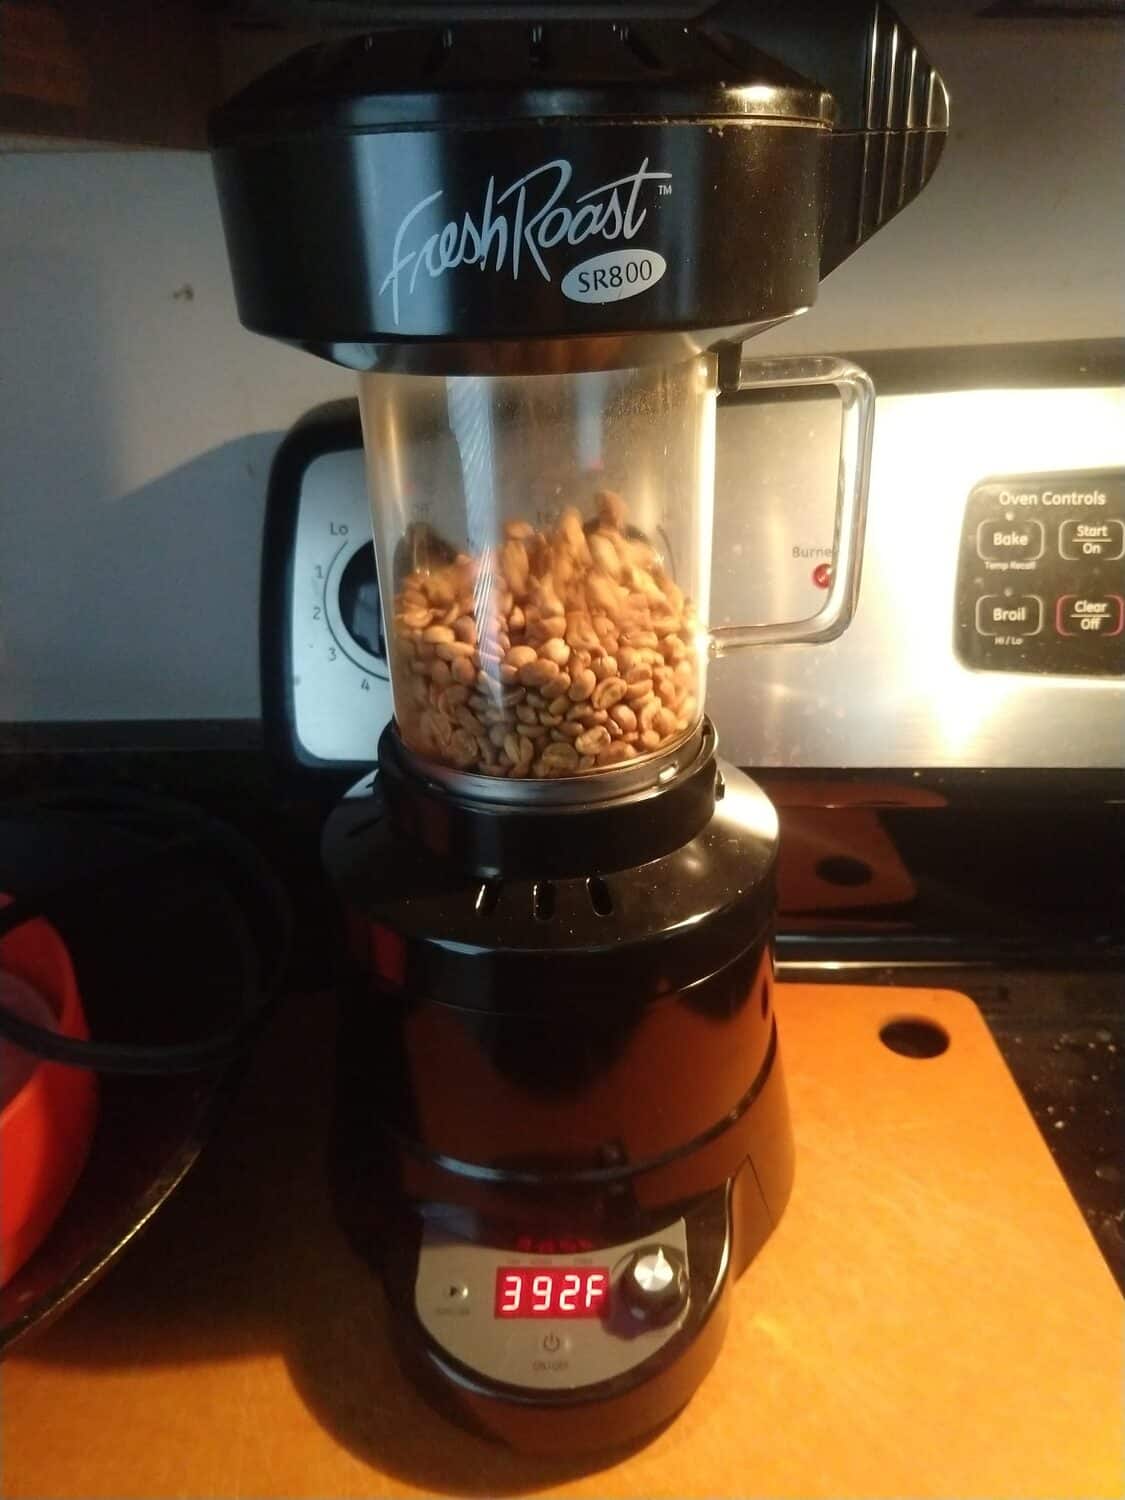
For significantly more control and larger batches, the Fresh Roast SR540 (5 oz) and SR800 (8 oz) are your best bet on a budget.
Check out my FreshRoast review for the full story, but in brief, they let you control all the roasting parameters without getting into costly automation features that new roasters don't need.
Strictly speaking, these are called fluid-bed roasters, since the circulation turns the beans into something resembling a fluidized bed.
The price is admittedly steep for a glorified popcorn popper, but the quality and ease of control made it worthwhile once I knew what I was doing. I've often done 2-3 consecutive batches (with a full cooling cycle in between), but it's not officially recommended.
How are expensive coffee roasters different?
Beyond this point, you'll pay for things like:
- Larger capacity
- Smoke suppression or ventilation hook-ups (more important as batch size increases!)
- Automation and custom roast profiles
- Data hook-ups for roasting software
- Altogether more robust electronics
Starting around $1000, you'll find scaled-down versions of commercial, gas-heated drum roasters. In the range of $3000-$5000 and up, you'll find larger versions of the same, as well as larger drum and fluid-bed (air) roasters with electric heating.
All the above are desirable to some home roasters, superfluous to others, and generally overwhelming to beginners.
Cheap options like I've outlined above are the best place to start, period.
Not only are they wallet-friendly, but they ensure you earn firsthand knowledge of every single variable in the roasting process.
You'll become a better roaster in the long run and get a clearer sense of which fancy features are worth splurging down the road.
