9 Ways To Brew Better Coffee Now
If there's anything better than the smell of that first cup of coffee in the morning...mankind has yet to discover it.
But if you're new to brewing coffee at home, then sometimes the flavor doesn't quite hold up to the aroma.
Watery cups, excessively bitter brews, or just totally inconsistent batches are the bane of the beginner barista.
Fortunately, I've been there, done that, and gone through the caffeine jitters so you don't have to.
Here are the 9 surest ways to kick your coffee up a notch.
Table of Contents
- Fresh is best, by a country mile
- Grind at the last minute for fuller flavor
- Use a better grinder for better brewing
- Coarser and finer grinds will tweak the taste
- Play around with water temperature
- Measure your coffee and water for consistency
- Make sure the water itself is good
- Go old-school and ditch the coffee maker altogether
- Practice, practice, practice
Fresh is best, by a country mile
Green, unroasted coffee beans can sit for at least several months before they're remotely stale.
But with roasted beans, you've got much less time. Contrary to what grocery store coffee packaging says, the flavor usually peaks about one week after roasting.
Two or four week is usually just fine, too, but the flavor may become quite dull and flat around the one-month mark.
Local roasters usually avoid this. Most are also knowledgeable enough to help you choose a coffee that suits your tastes. From fruity to chocolatey to floral, you'd be amazed at what variety is out there.
So, if supporting local business wasn't enough, now you have a good reason to pay a little more from a local roaster!
Grind at the last minute for fuller flavor
The more surface area is exposed to air, the faster the coffee's flavor gets worse.
Grinding exposes tons of surface area to air, so pre-ground coffee usually has just a fraction of its original flavor. (What's more, supermarket beans are generally stale in the first place!)
That's why buying a home grinder--more on that below--is one of the best and easiest ways to get all the richness the coffee at hand can offer.
I've personally noticed that using a very good grinder a few days prior to brewing makes better coffee than a bad grinder right before brewing. That's a bit of a complicated topic for now, and your best bet is always to use a good grinder, just in time.
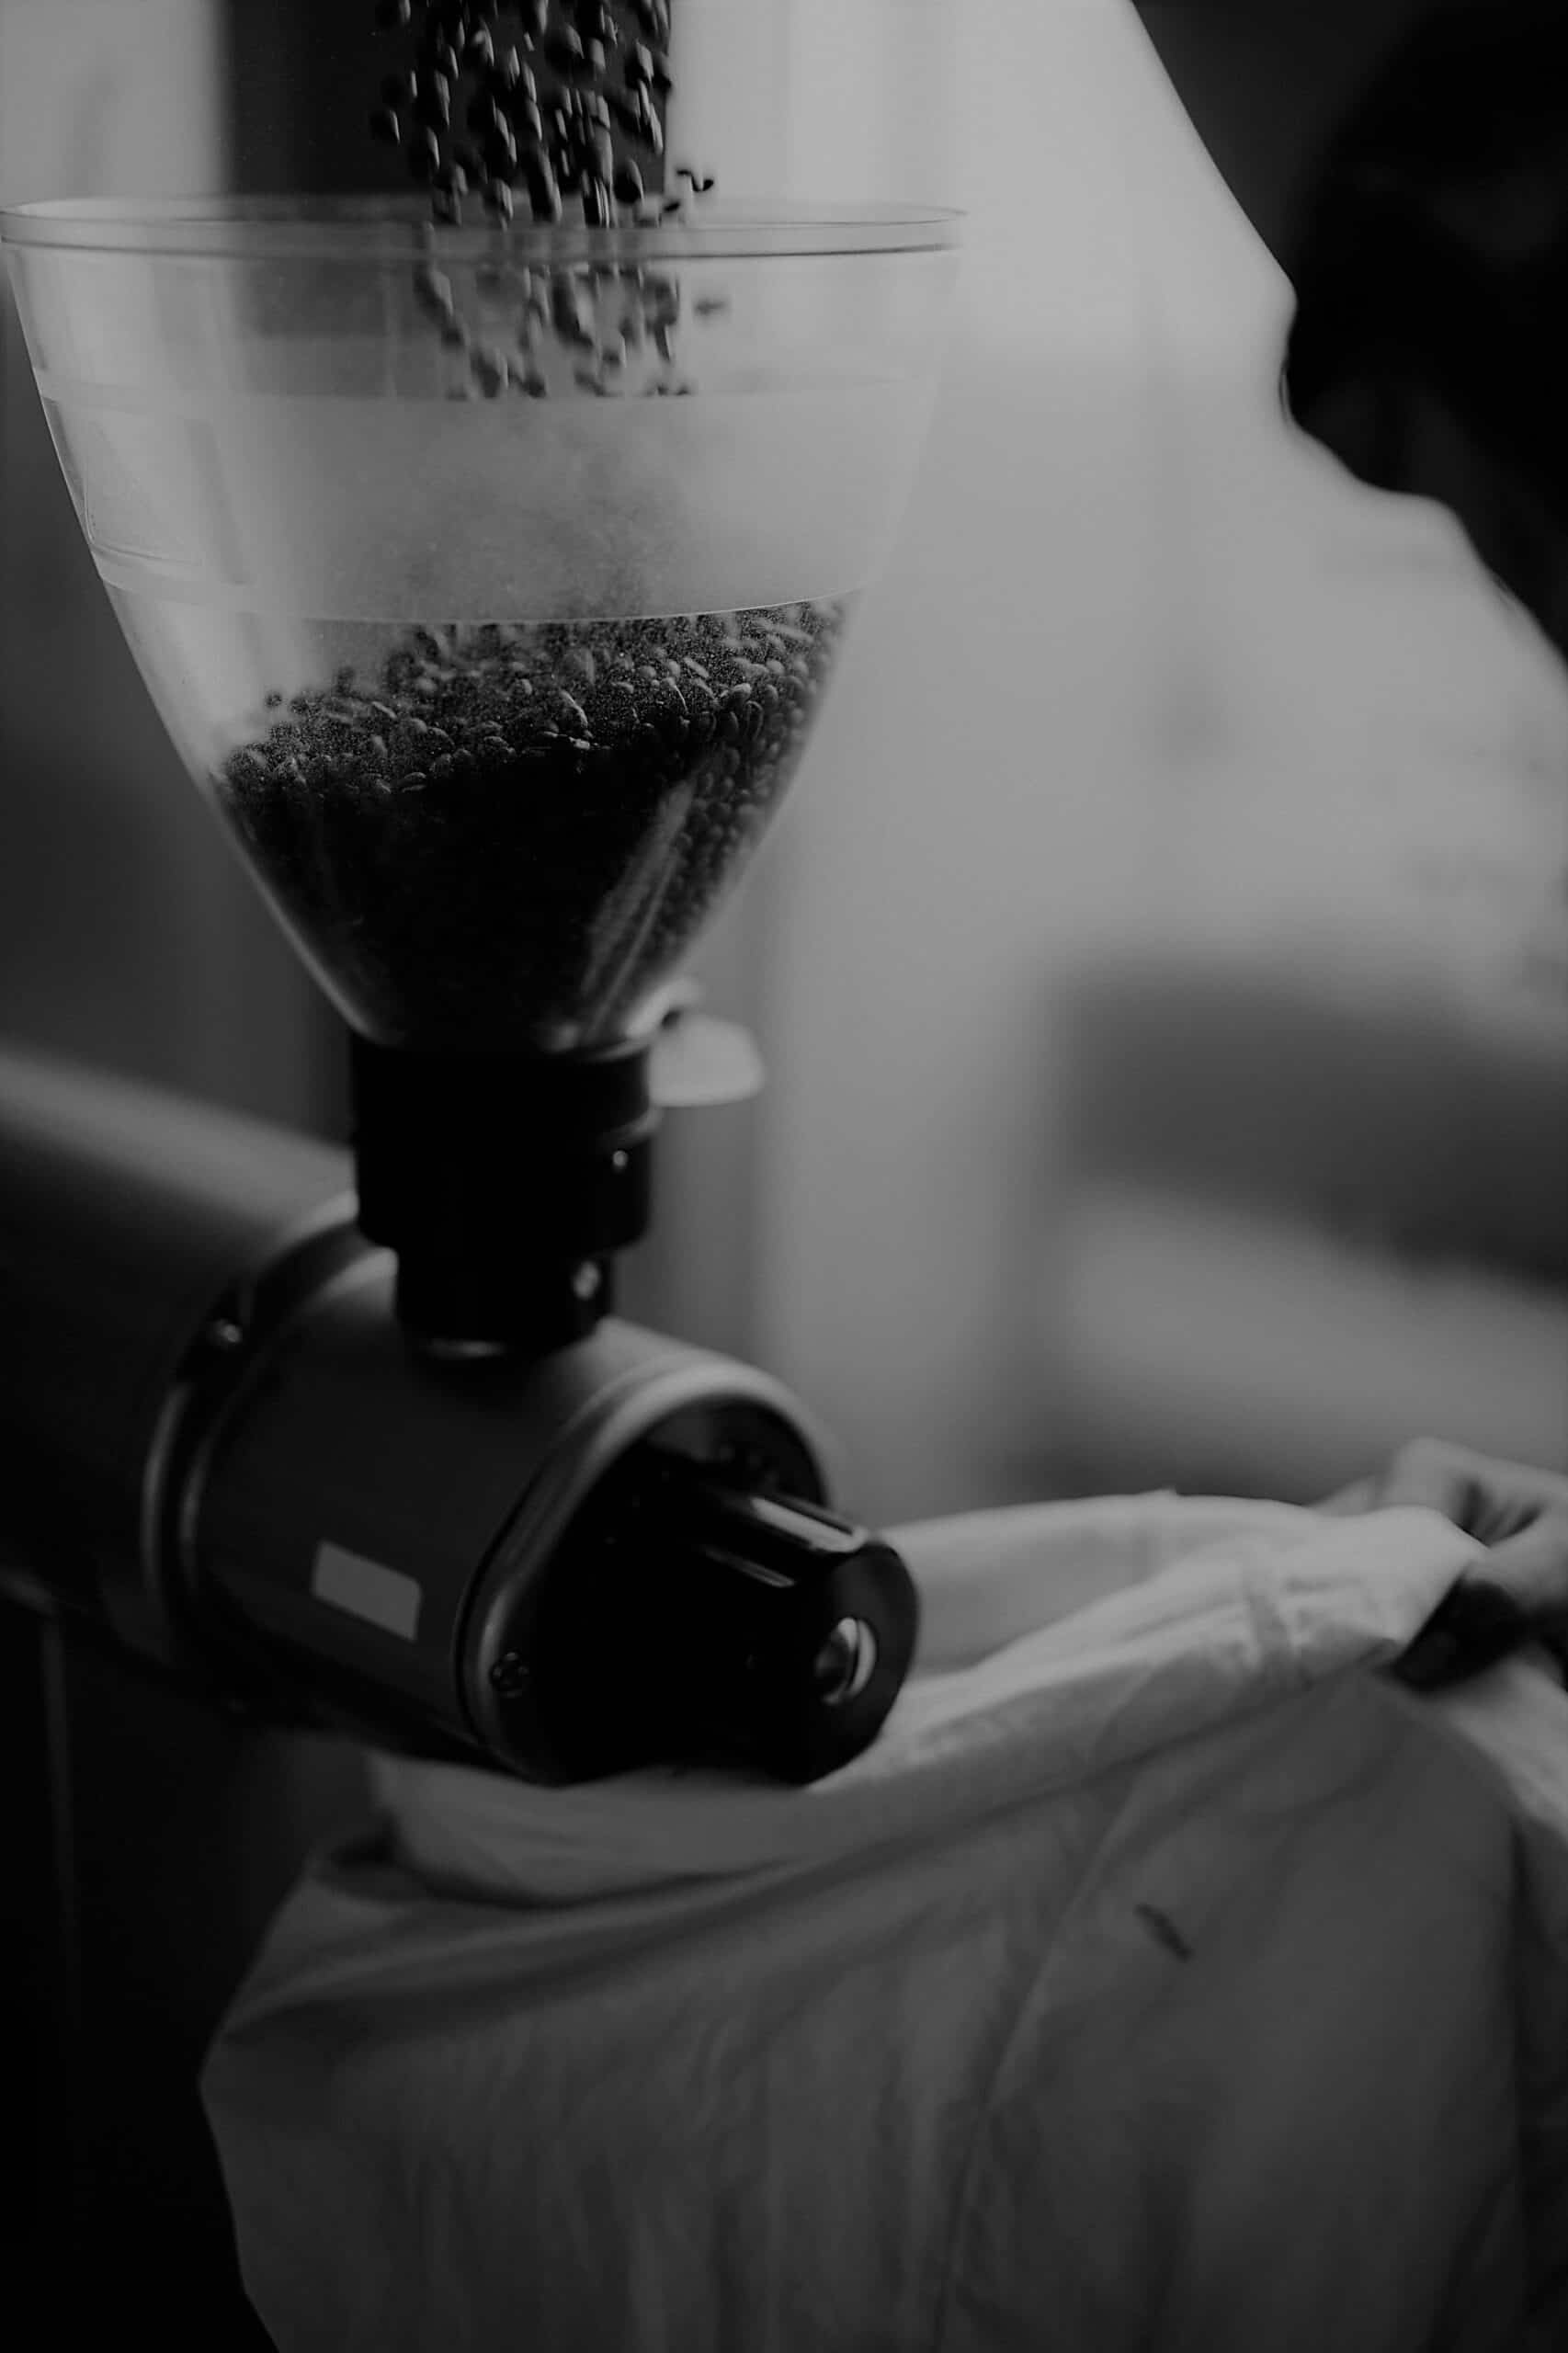
Use a better grinder for better brewing
Once I started buying (and eventually home-roasting) decent coffee in the first place, a good grinder made a world of difference.
How so?
The point of grinding coffee is to expose all the little particles inside the beans, so they can easily dissolve in water.
But poor grinders--including just about every blade grinder--don't create very even grounds. They'll leave some large "boulders" and piles of dusty "fines."
The contents of big versus small particles dissolve at different rates, so some get over-extracted and harsh while others stay under-extracted and weak or sour.
The result? Coffee that's the worst of both worlds: over- and under-extracted at the same time!
Fortunately, decent burr grinders are easy to find at a reasonable price, and will save you from gallons of bad brews.
If you want an electric grinder, then you can't go wrong with the Baratza Encore (available here). I used one for years until switching to a travel-friendly manual grinder, the Timemore Chestnut (available here, and my full review is here).
Coarser and finer grinds will tweak the taste
Like we saw just above, finer coffee grounds expose more particles to water, so they extract more quickly, all else being equal.
Likewise, larger grounds take longer to extract.
Clearly, you don't want a mix of the two in the same batch, hence the importance of a good grinder.
But here's the cool part. If you do get a consistent, quality grinder, you can slowly move the grind size up or down to see what gives the best flavor.
It's surprising how much this affects the flavor, especially in combination with water temperature and coffee-to-water ratios, which we'll cover next.
As a general rule, go finer for a more potent cup and coarser for a smoother one, but don't change it by more than one or two clicks at a time.
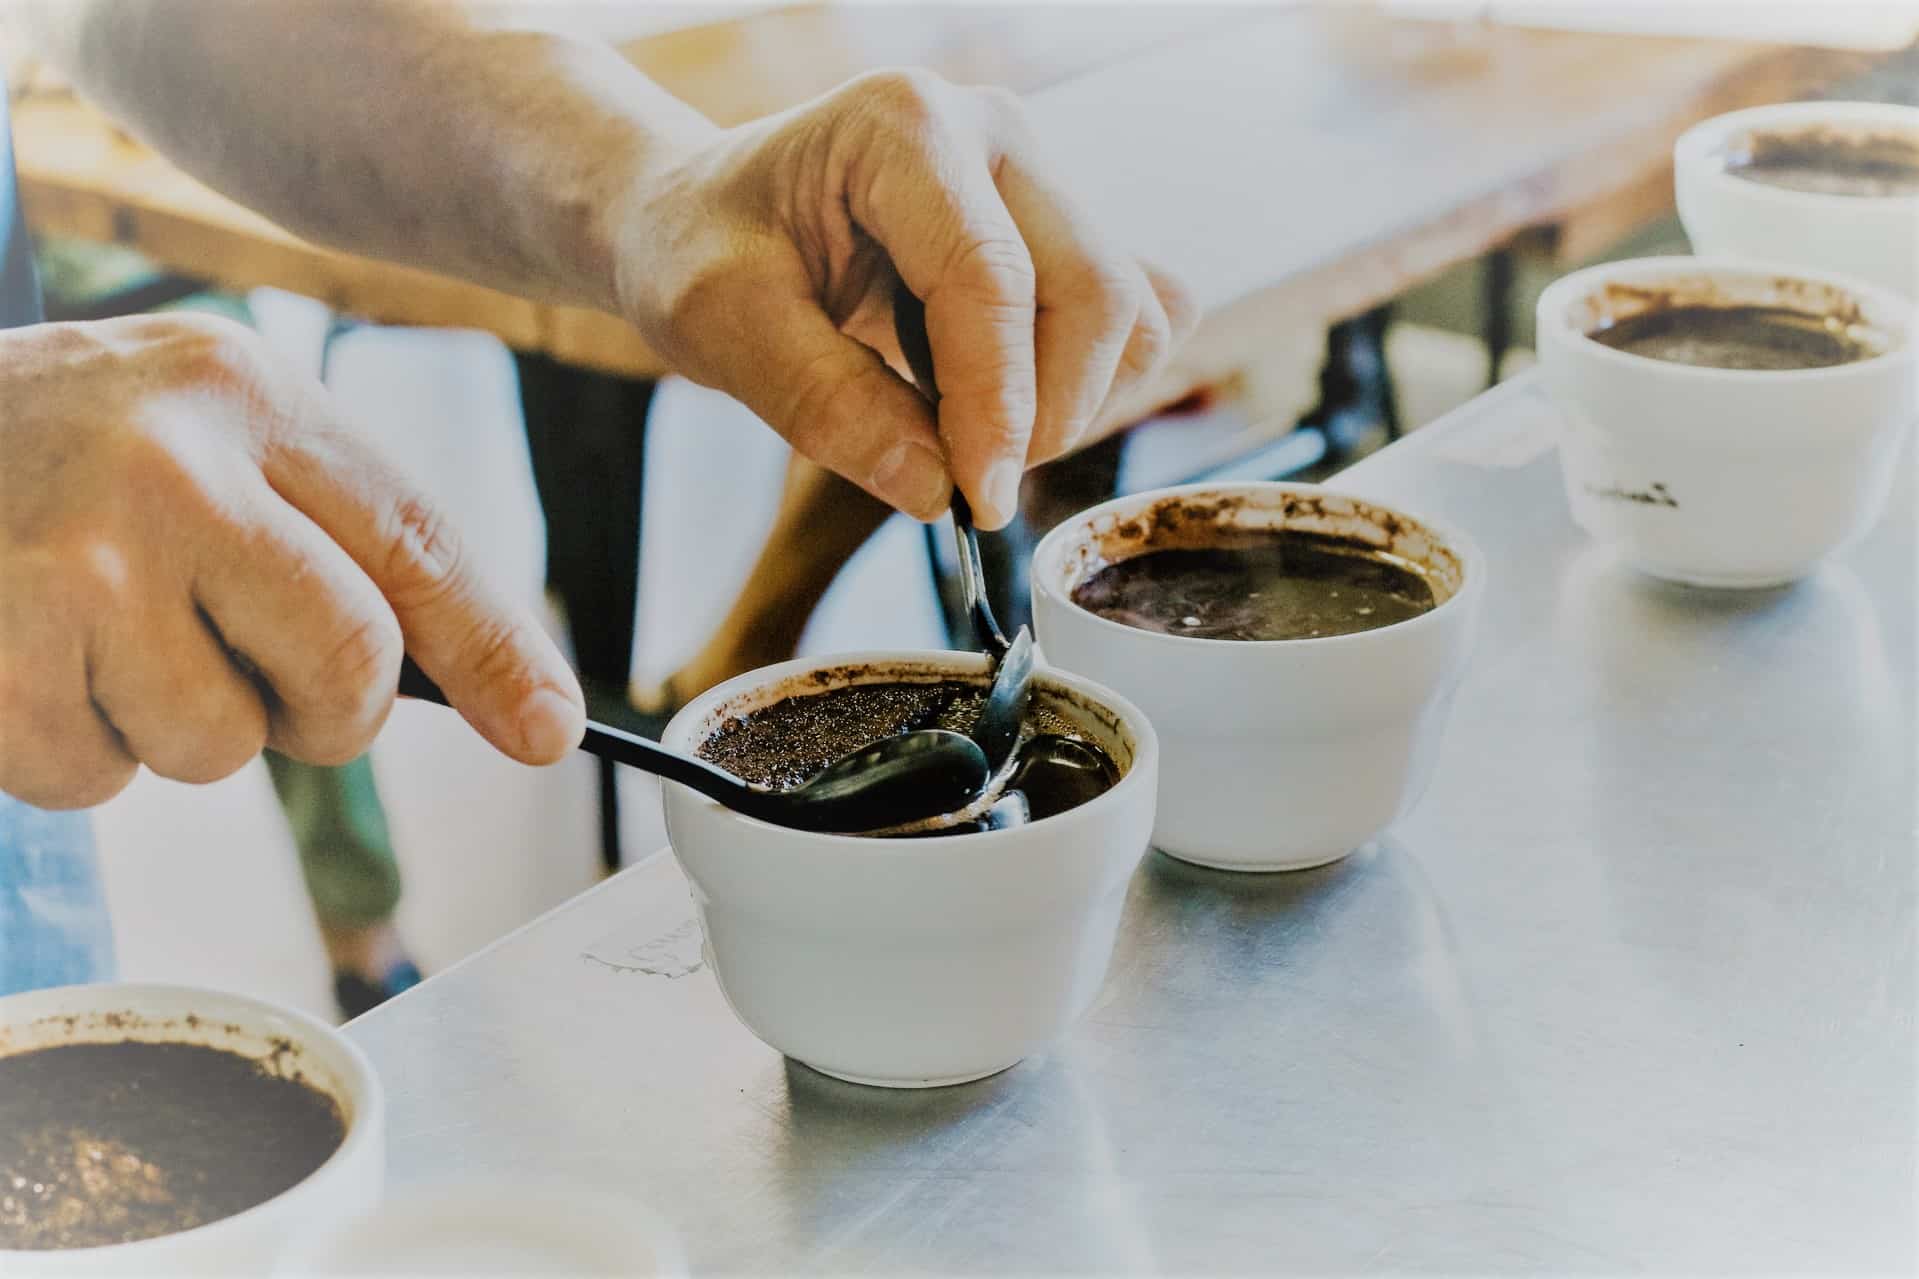
Play around with water temperature
Water temperature is the counterpart to grind size. Together, these determine how fully the coffee extracts in a given amount of time.
You've probably noticed that soap and stains and just about everything else dissolve more readily in hotter water. Well, the same concept applies to coffee.
For the same size of grounds, hotter water will dissolve their flavorful compounds in less time than cooler water.
Sometimes this helps you get all of the fruity and floral notes out of lighter-roasted coffee, but sometimes this also gets more of the charred-tasting compounds out of a darker roast.
If your coffee machine has a temperature setting, or if you're brewing by hand, try fiddling with the temperature just a few degrees Fahrenheit in either direction.
Pay attention to if or how the coffee transforms, and combine this with a finer or coarser grind to dial in your brew.
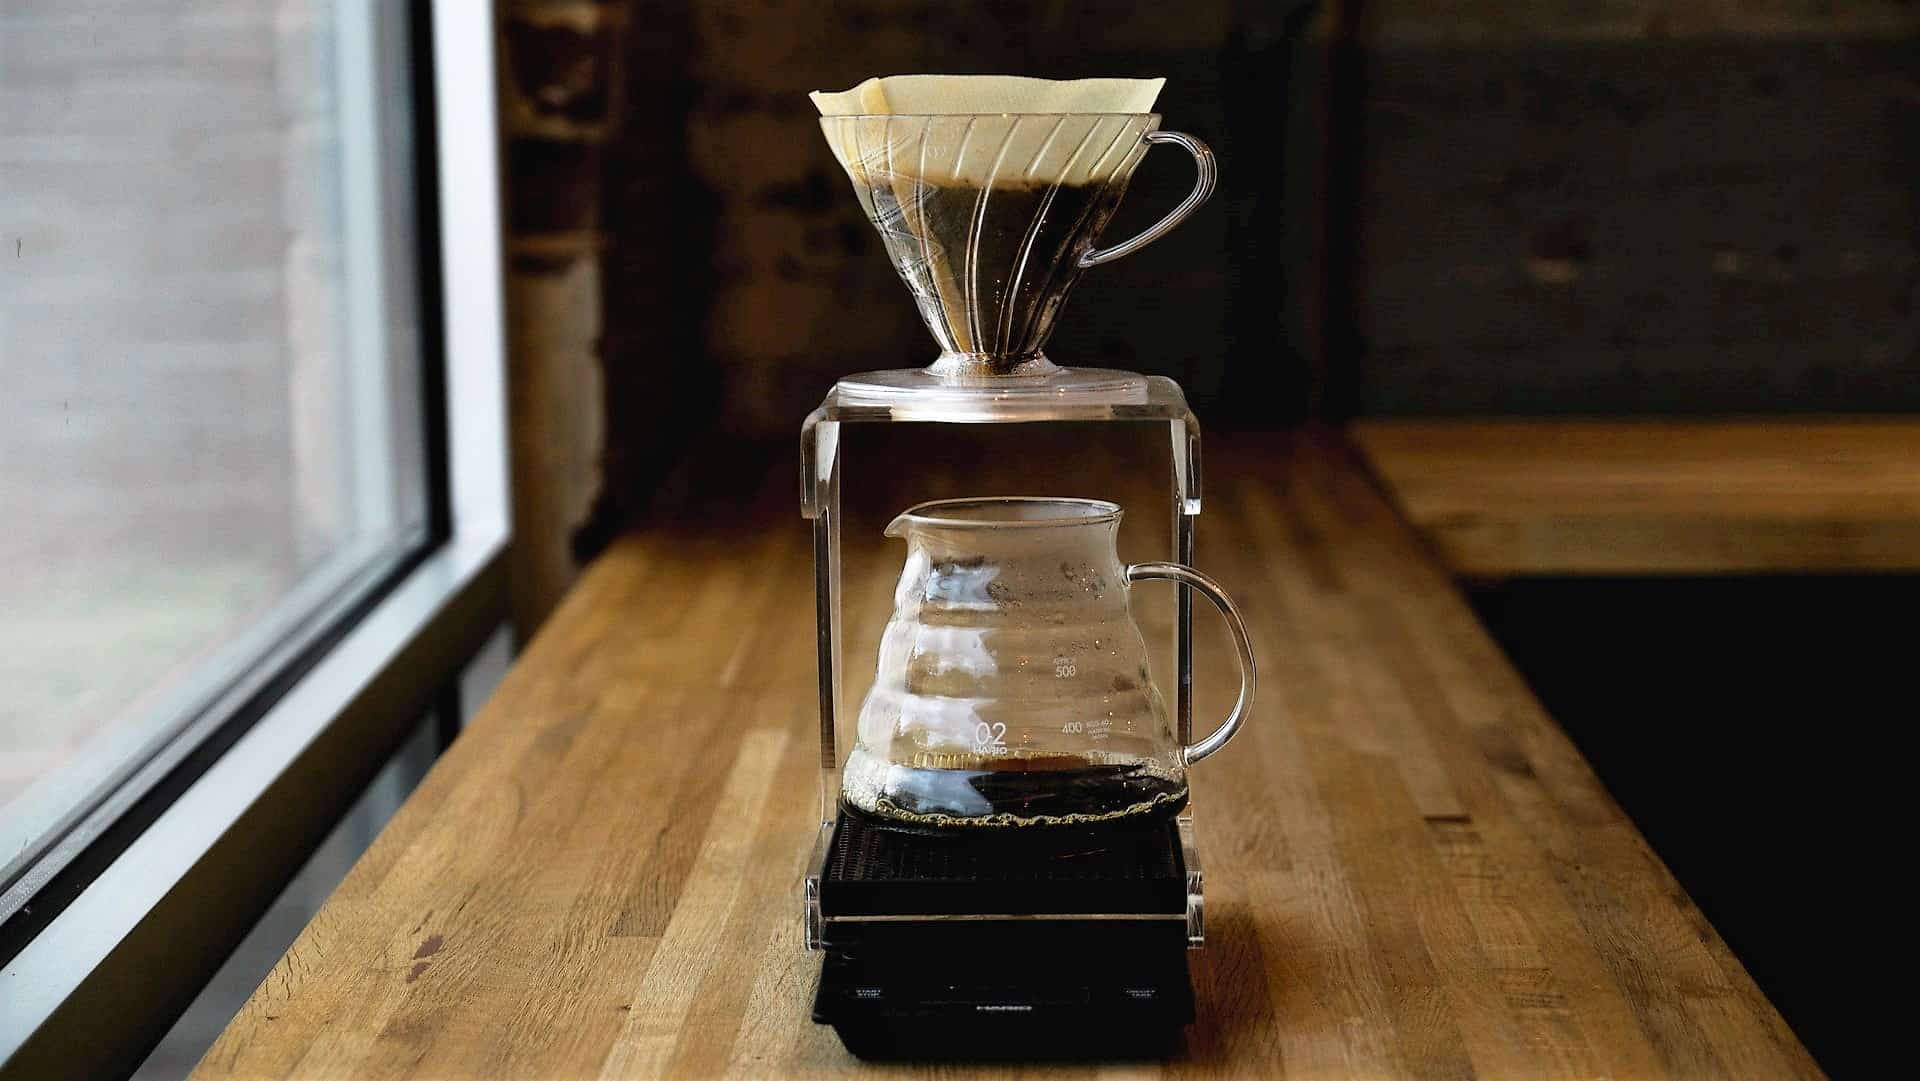
Measure your coffee and water for consistency
Making okay coffee is dead simple, but making consistently great coffee is a more exact science than you'd expect.
It's obvious that more water, with the same amount of coffee, will make a more diluted cup. Unfortunately, that ratio can easily change by at least 10% in either direction when you're eyeballing with measuring spoons and fill lines.
The pro tip, then, is to use a scale for both coffee and water. You can use the same unit (ideally grams) for everything, but most of all, you'll know exactly how to reproduce a batch that tasted great!
Make sure the water itself is good
If you've tried all the above, and the flavor is still dull (or just plain strange), then your water might be the problem.
More specifically, your water's mineral content might not be quite right for brewing coffee.
That can actually make a surprising difference. Water chemistry affects how all the coffee oils and aromatic compounds dissolve, so changing that chemistry can make a remarkable difference.
Try brewing your next few batches with bottled water.
I recommend Crystal Geyser, Dasani, or Trader Joe's, which are cheap and easy to find at least in most of the US.
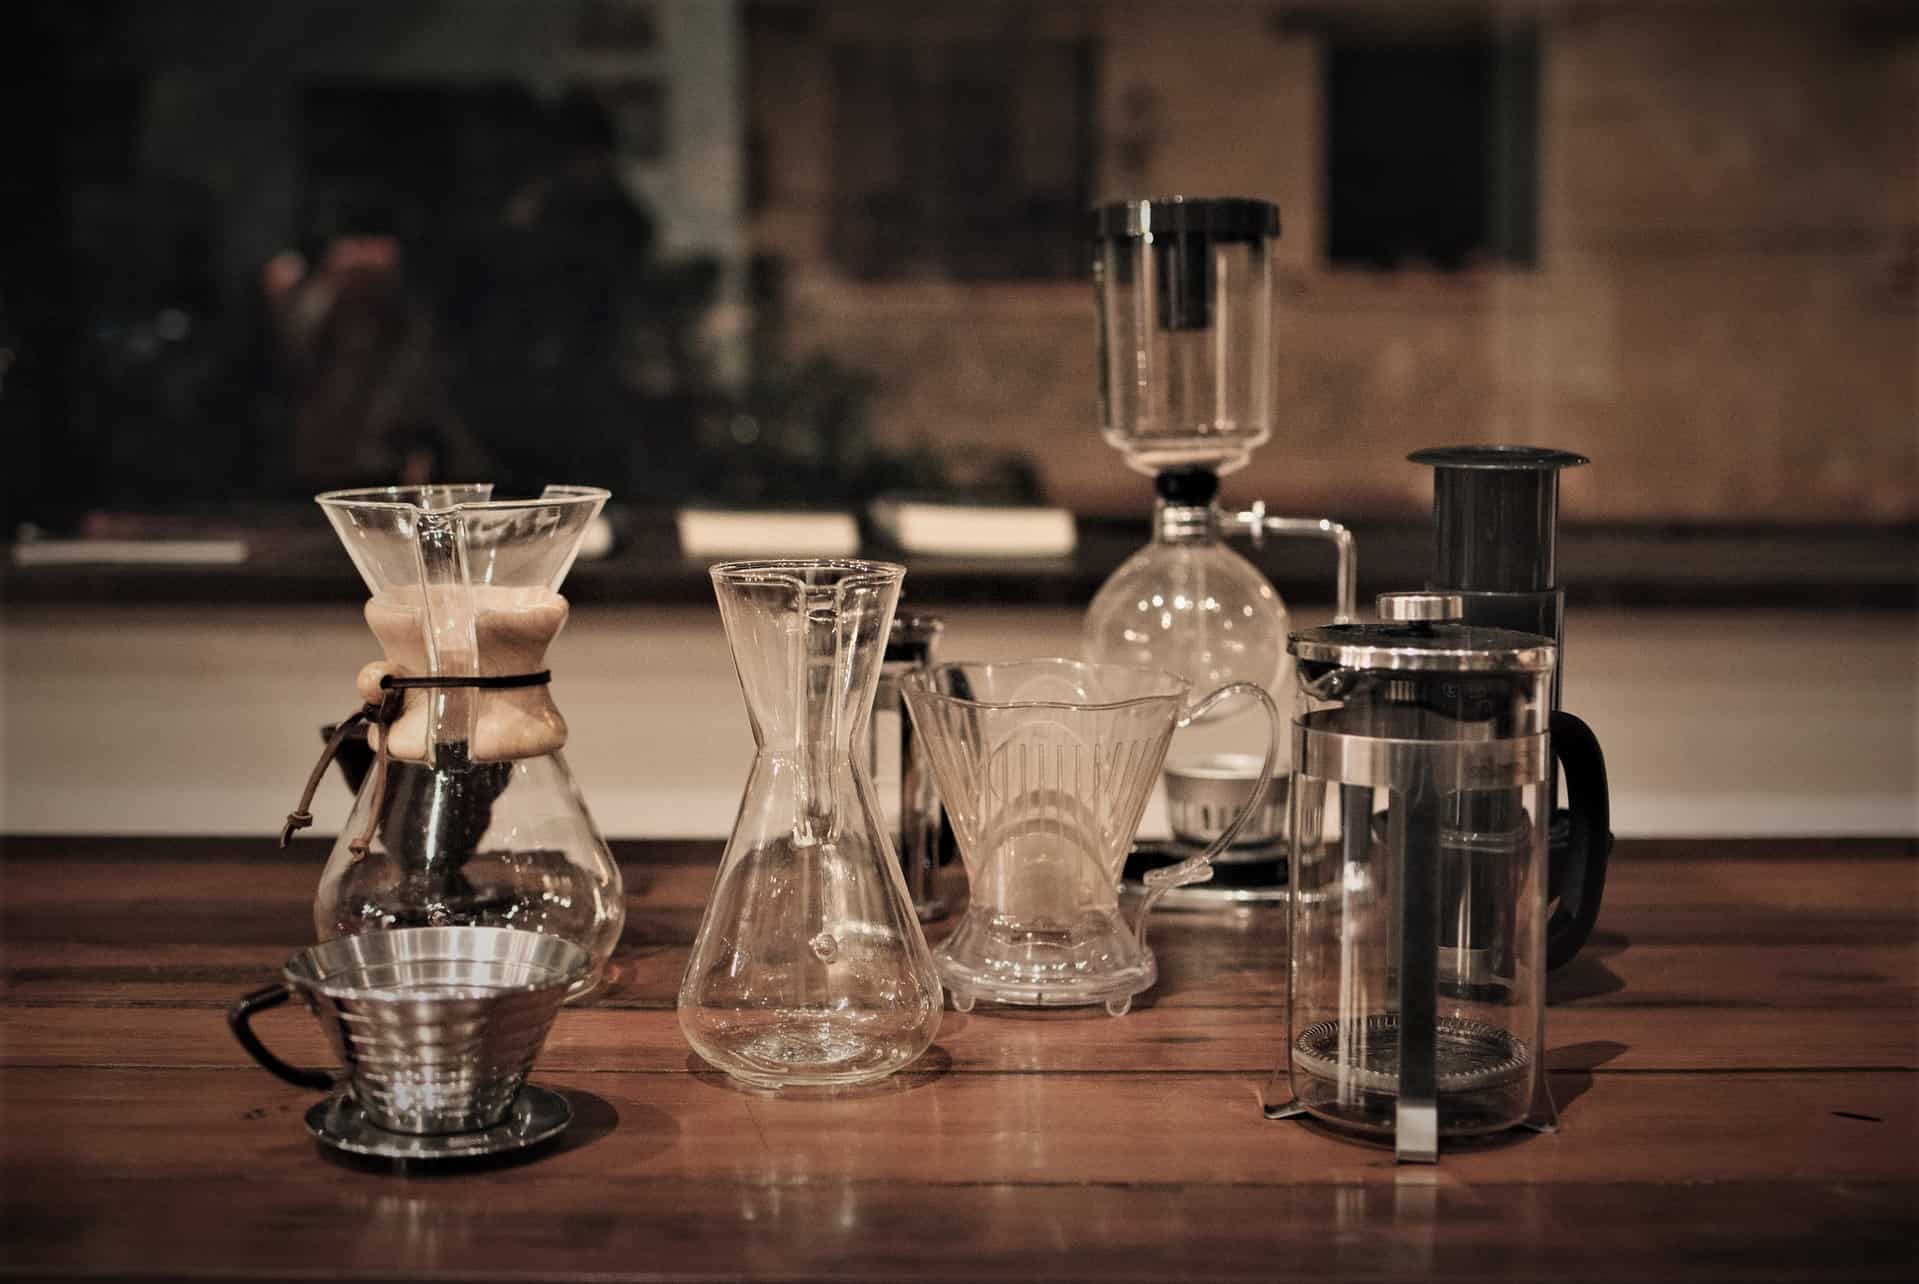
Go old-school and ditch the coffee maker altogether
Bad automatic coffee makers drip water onto a single point in the coffee. It gets heavily extracted while the rest of the grounds stay dry awhile, and end up under-extracted.
If you're using one of these, then the freshest beans, best grinder, and perfect coffee-to-water ratio still won't show you the coffee's full potential.
The cheap, easy, and oddly enjoyable solution is to switch to pour-over brewing--or, perhaps my favorite, an AeroPress (which you can get here).
To be sure, some high-end automatic coffee makers are much more sophisticated. They more or less replicate the motion of using a pour-over kettle and cone, which means nice, even saturation at just the right time.
But they're expensive, and probably overkill unless you regularly make several cups at a time.
And, if you really want to understand the nuances of bringing out each coffee's more distinctive flavors, there's still no substitute for a manual brew.
Practice, practice, practice
Besides a couple of equipment recommendations, like a scale and a good grinder, most of these tips come down to variables in the process.
That's why experimenting yields better coffee: what if I grind one click finer? Or use slightly hotter water? Or try 16 parts water to part of coffee, instead of 17?
With a little time and attention, you'll inevitably create some great coffee. Better yet, you'll be able to repeat them, then use them as a baseline for other coffees.
Now, you certainly don't have to go all out, like I did...
But it's hard to beat the satisfaction of creating an astonishingly good cup, at home, all by yourself.
By the way, I can't exaggerate how important a good grinder is for good coffee. It really is worth repeating. For my money, the Timemore Chestnut is the best manual grinder out there (see my review). I actually prefer it to most electric ones.