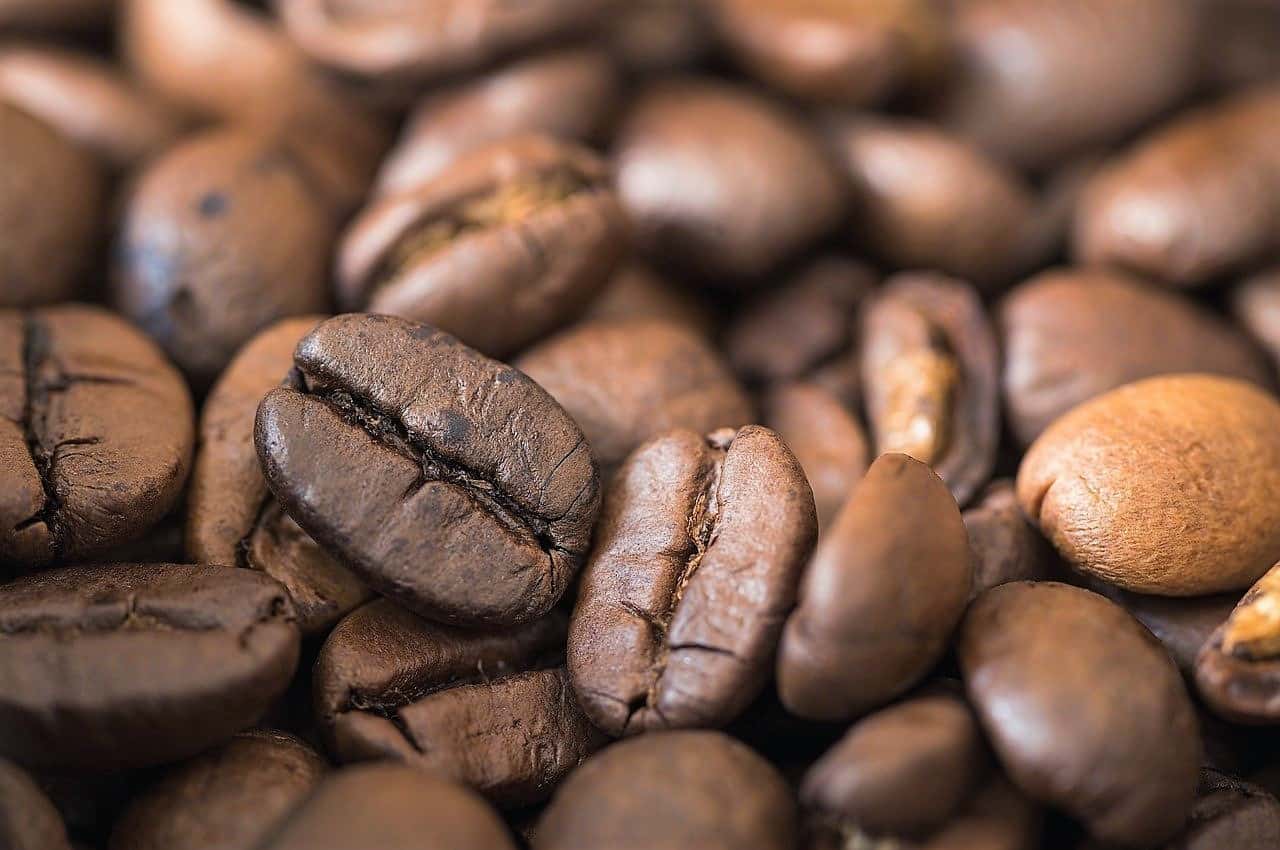
How To Roast Better Coffee At Home (9 Must-Try Tips For Beginners)
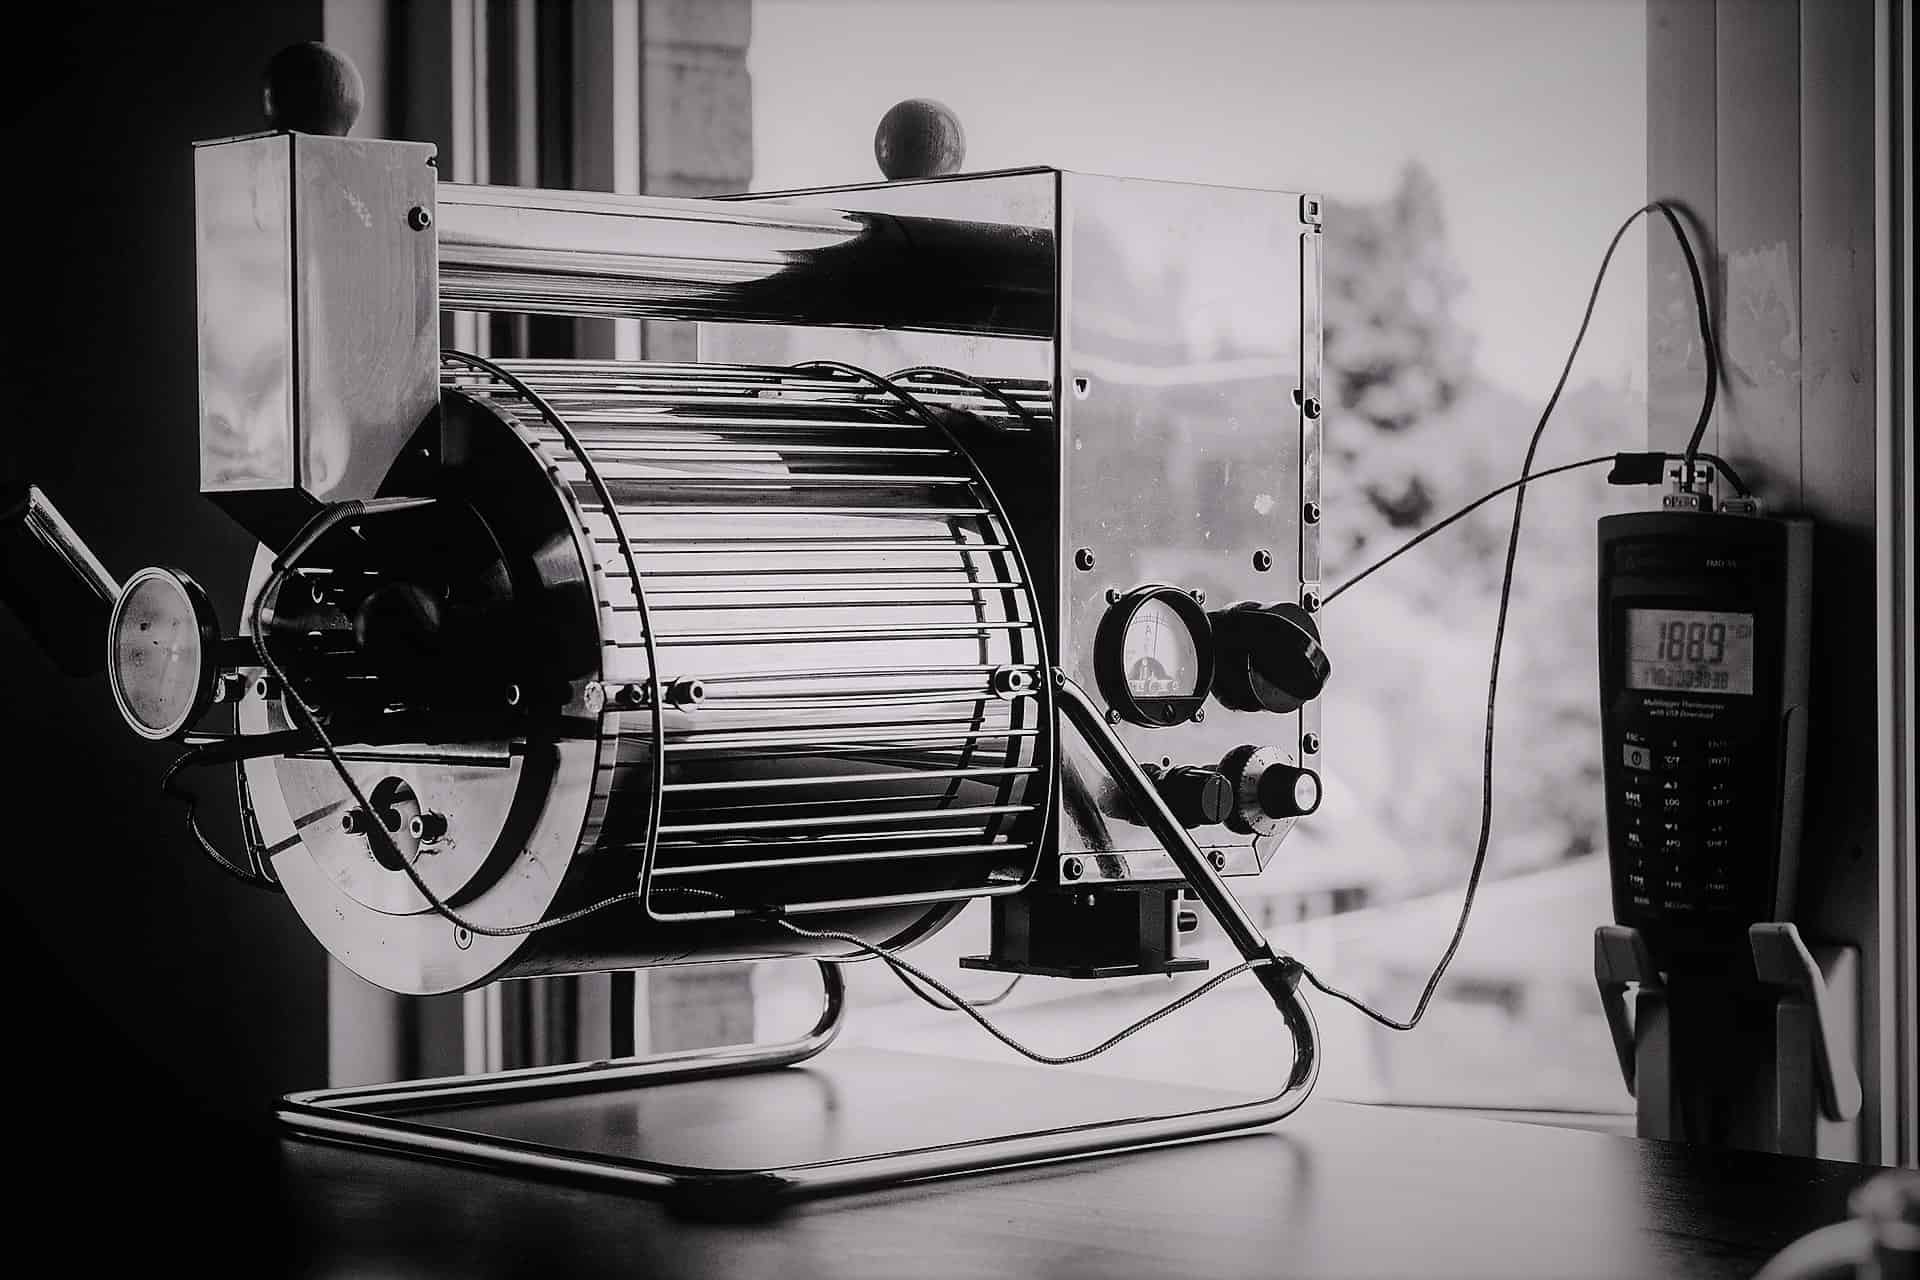
Who doesn't love having plenty of fresh-roasted coffee on hand?
Even better is when it's your own handiwork.
Home coffee roasting is a fun and approachable hobby. It's free or cheap to start, and can be extremely cost-effective in the long run.
Think of it as a craft. You can make something right away, then with observation and practice, you can make something excellent.
But if you're new to home coffee roasting, then what exactly should you be observing and practicing?
Here are my top nine tips to roast better coffee, sooner.
Table of Contents
- Keep a roast log
- Focus on single-origin coffees
- Roast the same beans several times
- Brew your roasts several ways
- Learn to diagnose roast issues
- Try to keep ambient temperature and humidity consistent
- Consider a roaster upgrade
- Change the batch size, but only slightly
- Take part in the home roasting community
I'm an affiliate.
I hope my product recommendations make your life a little better! As a member of programs including Amazon Associates, I earn from qualifying purchases. If you do choose to purchase though links here, then I greatly appreciate your support!
Keep a roast log
The coffee you drink is the sum of many little decisions by you, the roaster.
- How much green coffee?
- What starting temperature and fan/drum speed?
- How long until first crack?
- How did you change the temperature and fan/drum speed after first crack?
- When did you end the roast?
It all feel pretty intuitive in the moment, but later on, it's hard to remember what you actually did.
A simple roast log template
A simple roast log, even just bullet points on your phone, can make a world of difference.
You'll start to correlate what you do with what you taste.
Think of it as your own lab records for you, the mad coffee scientist, to keep learning from.
It's less important once you know your roaster well and have good intuition. Still, it's worth the effort when possible.
Everyone comes up with their own, but here's a simplified version of mine to get you started.
| Start Weight (g) | 215 | |||
| End Weight (g) | 187 | |||
| Roast Level Description | Full city | |||
| Roast Time Until Cooling (min:sec) | 12:47 | |||
| Tasting Notes | Yummy | |||
| Time (min:sec) | Power | Fan | Air Temp (F) | Notes |
| 1:00 | 9 | 9 | 120 | |
| 2:00 | 9 | 9 | 230 | |
| 3:00 | 9 | 8 | 250 | |
| 4:00 | 9 | 8 | 270 | |
| 5:00 | 9 | 7 | 300 | First crack ~5:30 |
| 6:00 | 9 | 7 | 330 | |
| 7:00 | 9 | 7 | 350 | |
| 8:00 | 9 | 6 | 370 | |
| 9:00 | 9 | 6 | 390 | |
| 10:00 | 9 | 7 | 420 | |
| 11:00 | 9 | 7 | 440 | |
| 12:00 | 9 | 6 | 460 | Begin second crack ~12:00, start cooling cycle |
| 13:00 | Cool | Cool |
Focus on single-origin coffees
There are two reasons it's best to focus on roasting single-origin coffees instead of blends.
The first and more obvious one is that that's what most coffee suppliers will sell most of the time.
Roasters like to create their own blends with very specific attributes. The best way to do that is buy the blend's components individually and then experiment with them until you nail a certain flavor.
Secondly, there are surprisingly large differences in how to roast different coffees.
As a new roaster, it's simply too much to keep track of that at the same time that you're getting familiar with your roasting set-up.
Later, as an experienced roaster, you might want to do things like blending lighter and darker roasts. That's just not possible unless you roast them separately.
Besides, just exploring these origins is fun and interesting in its own right.
Beyond my own roasting, I'm fond of Angels' Cup, which sends single-origin blind tasting kits to your door each month. You can go here for my review of their subscription.
Roast the same beans several times
All those steps and decisions in the roasting process are a lot to keep track of.
With time, you'll develop intuition. Personally, after roasting for years, I'm starting to just know when a roast is (or isn't) working and how to adapt on the fly
But to get there, you need to limit the variables. And the easiest variable to limit is the coffee crop itself.
Obviously, different coffees have different flavors. It can be hard to tell whether different tastes are because your process changed or because the beans themselves had fundamentally different flavor profiles.
Less obviously, but just as importantly, coffee bean density is all over the place. Density affects how the bean absorbs heat and therefore how quickly it roasts.
By using the exact same beans--not just the same origin, but the same crop and shipment--then it's easier to understand how your roasting decisions affect your results.
Brew your roasts several ways
Ever notice how an espresso blend might yield a great ristretto but a disappointing French press?
Or how a light, fruity coffee makes an amazing pour-over but an unpalatable cappuccino?
That's because every brewing method exposes coffee to different water temperatures and pressure, for different periods of time, often with different grind sizes.
Qualities that come out well with one method may be missing or overwhelming with another method.
Before you decide whether your own home-roasted batch is any good, give it a shot (perhaps literally) with as many brewing devices as you have on hand.
By playing coffee scientist like this, you'll get all sorts of insights into how your roasting translates into actual flavors.
Learn to diagnose roast issues
This is the one big reason for roasting single origins several times each, then brewing every batch in a myriad of ways.
Yes, practice makes perfect and all that, but what you're really looking for is connections between processes and results.
For instance: do you find that a certain batch always tastes dull and dirty unless brewed as espresso?
Look at the roast log (you are keeping one, right?) and see if you let the temperature fall toward the end.
Conversely, are you getting an overpowering sourness in a strong AeroPress brew, which goes goes away in a V60?
Try pushing the same bean a little farther past first crack next time around.
It's not always this simple, but learning to recognize roast issues by taste is one the keys to better batches.
Try to keep ambient temperature and humidity consistent
Green coffee beans contain a fair amount of moisture.
This dries up in the very earliest phase of the roasting process. It usually coincides with a sort of grassy smell.
But the more the humidity around you varies, the more this drying phase varies. And as the drying phase varies, it gets harder to replicate roast results.
If you're having trouble getting consistent batches of the same bean, and you know you did nothing differently, then consider whether the humidity in your coffee storage spot might have changed.
Same goes for temperature, of course, as the two are closely related.
Consider a roaster upgrade
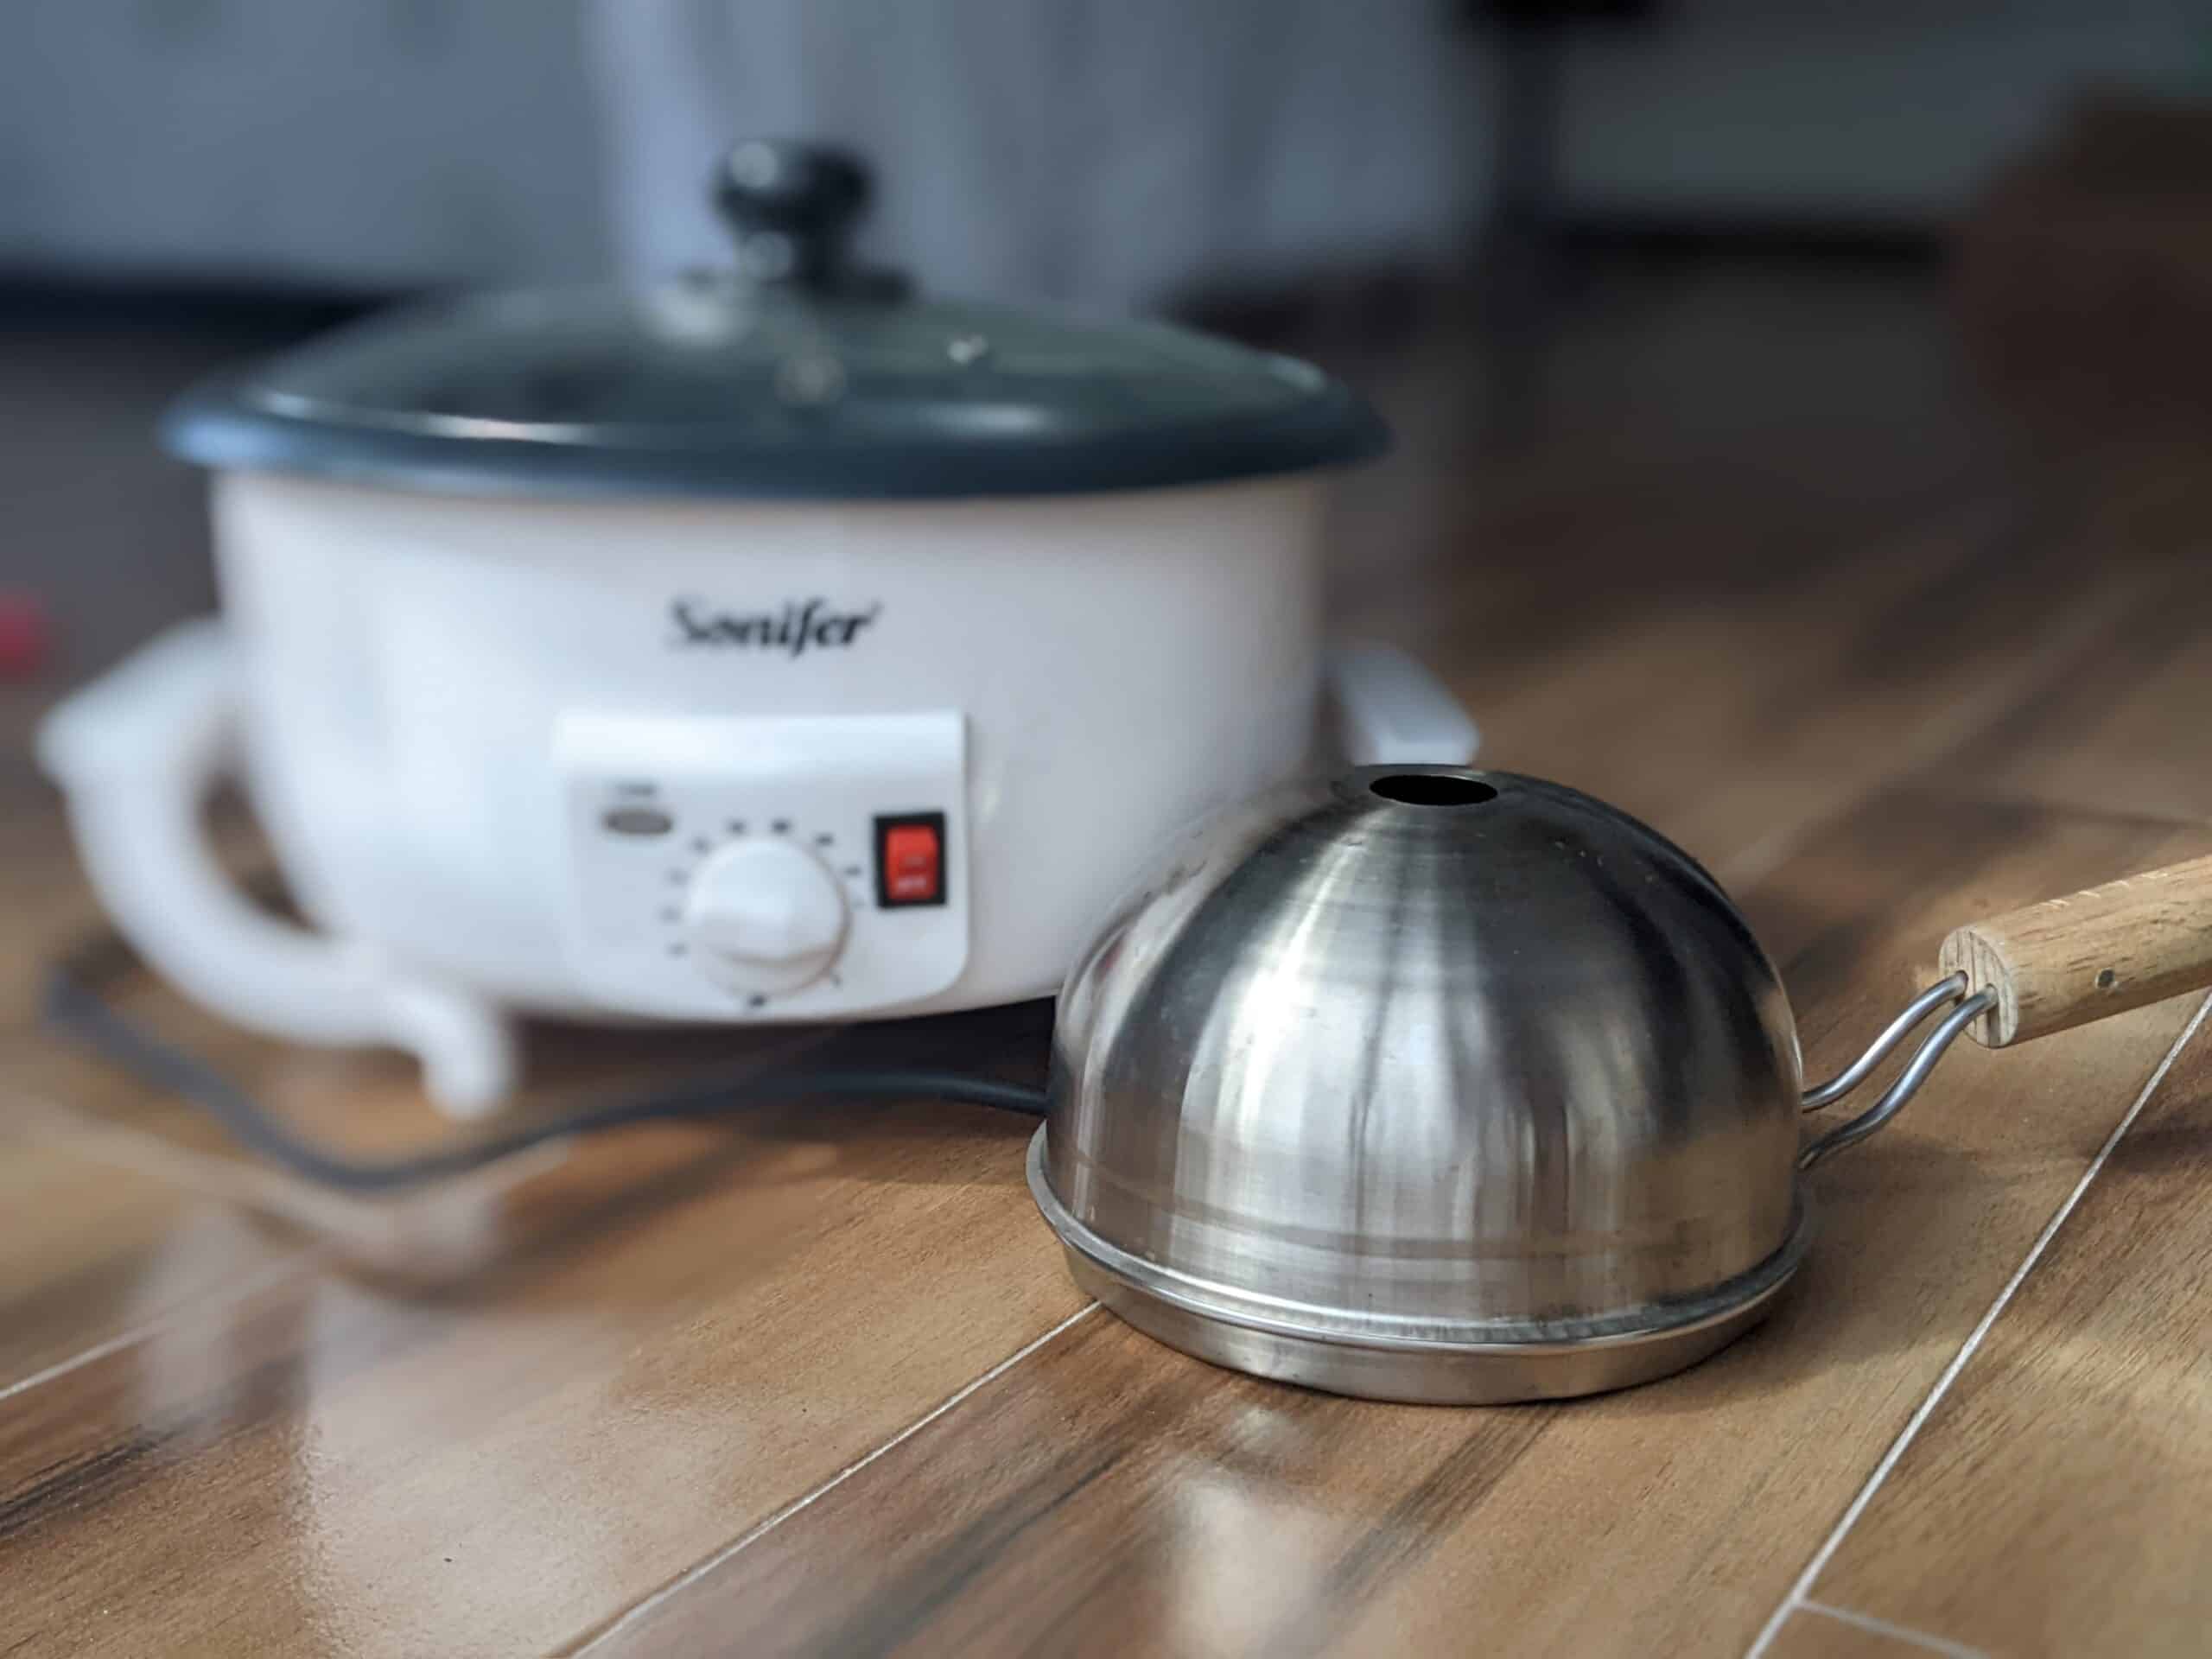
Ovens, frying pans, and certain popcorn poppers are terrific ways to start roasting coffee at home.
With practice and patience, you can produce some impressive batches.
However, you'll eventually find that it's almost impossible to use these things precisely. (Unless you're into retrofitting and modifying them, but that's another story.)
At this point, you've learned through plenty of beginner experimentation. You've also learned to taste carefully and you're even starting to diagnose roast issues by taste. You know how to roast well, but the tools at hand are starting to get in your way.
That's when you'll get the most out of a roaster upgrade.
There's no harm in buying a dedicated roaster sooner, either.
Change the batch size, but only slightly
The importance of experimentation is an important theme here.
It's pretty obvious how to apply it to roasting: temperature, agitation, the beans themselves, on and so on.
But a critical variable that's easy to overlook is the size of the batch itself.
In roasters that use air speed to circulate the coffee, even a fraction of an ounce can mean the difference between overly slow heating and a perfectly timed batch.
If your roasts take far too long to reach first crack, then reduce the batch size while keeping heat and fan speed the same.
(Batch size certainly matters in drum roasters and other mechanically agitated ones, too. It's just a bit less sensitive.)
Take part in the home roasting community
Finally, one of the best ways to roast better coffee is to discuss it with experts.
It's hard to connect in real life over our slightly unusual hobby of coffee roasting. But thanks to the web, that's hardly an issue.
From Reddit to much older coffee discussion forums, there is an absolute wealth of knowledge to be found.
Sure, there are grouches and cynics like anywhere else, but the home roasting community is worth tapping into.
It's amazing, humbling, and helpful all at the same time.
P.S. Having decent equipment doesn't guarantee great coffee but it removes a lot of obstacles. For my money, the Fresh Roast SR800 (or slightly smaller SR540) is the best option right now. I'm really impressed with the quality it lets me produce. Read my review here.
