Fellow Prismo Review: Clever, But Does It Work?
Everybody loves espresso, but not everybody wants to deal with an espresso machine.
There's no denying that the end product can be great. But the cost is significant, the maintenance is nothing to sneeze at, and dialing it in is not easy.
So when you see the AeroPress's plunger design, you might think, "Hey, that looks like a very cheap and very easy way to make espresso!"
Nope. To be crystal-clear, it is physically impossible to get true espresso from an AeroPress.
But...
There are a few ways to increase the resistance and apply at least some more pressure. That gets us a little closer to the flavor of espresso, if not the real thing.
A starting point is to grind coffee very, very finely; about like you would for an espresso machine. Water can't pass through it as quickly, so you end up applying more pressure to plunge. The resulting brew is a bit stronger and more viscous.
You can also magnify that effect by tamping the coffee inside the AeroPress. Tamping the grounds (i.e., gently packing them down) makes the bed of coffee denser and therefore more resistant to the flow of water. It's easier said than done, but I've seen people use a spice jar of just the right width as a tamper.
But the folks at Fellow wanted to put another tool at our disposal.
And that's the Prismo.
It's a modestly-priced AeroPress attachment that uses a very simple valve to increase plunging pressure. Its metal filter is reusable and helps create a more espresso-like flavor profile. The Prismo won't overcome physics to make real espresso, but it's a fun and clever way to get a little closer.
I recommend it for any AeroPress enthusiast, provided they have a) reasonable expectations and b) a grinder that is consistent at very fine espresso settings.
Table of Contents
I'm an affiliate.
I hope my product recommendations make your life a little better! As a member of programs including Amazon Associates, I earn from qualifying purchases. If you do choose to purchase though links here, then I greatly appreciate your support!
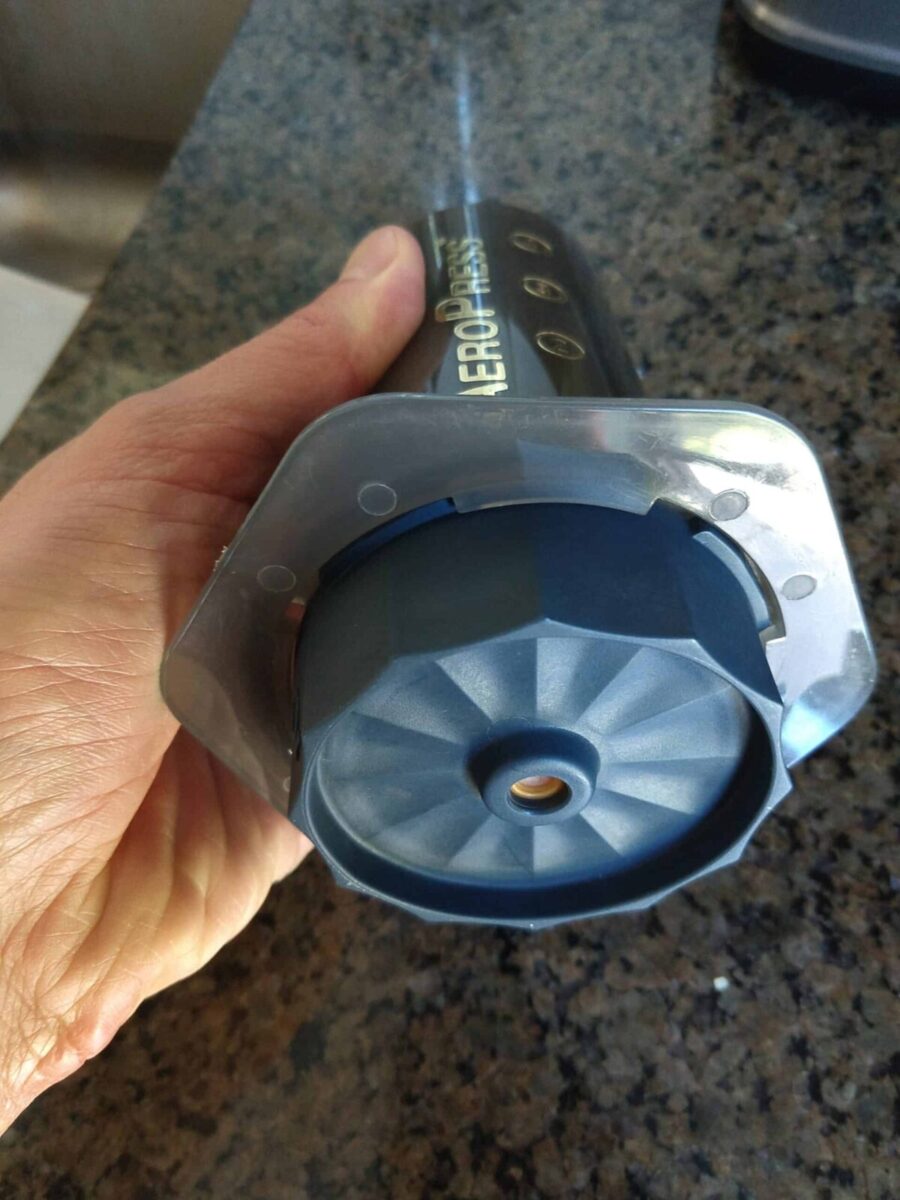
What's in the package?
There are two simple pieces in the package: a valved cap and a filter.
These are made to work together in place of the stock filters and cap.
You might be inclined to use the Prismo's filter as a standalone travel filter with the stock cap.
Don't.
The rubber seal is made for the Prismo cap and will prevent the stock cap from locking into place.
(If you're just looking for a metal filter for the stock cap, then I recommend the Able Disk Fine for a cleaner cup.)
Fit & finish
Everything Fellow makes looks attractive and novel. Plastic caps aren't exactly objects of desire, but I suppose theirs is as aesthetically pleasing as possible.
Plastic will wear down sooner or later, but mine still attaches snugly after countless uses.
The general brewing process is simple. You'll need a finer grind, different timing, and different coffee-to-water ratios, but the basic brewing process is the same as always:
- Fill, stir, and bloom
- Top off with water
- Steep
- Plunge
That's not exactly enough to go off of, but later on, I'll give a link to Fellow's recommend recipe, plus my own thoughts on how to optimize it.
First, let's look at what it does best and where it might disappoint.
To be clear, the latter aren't outright flaws so much as limitations. Whether they're deal-breakers to you all depends on your expectations.
What you'll like most about the Prismo
Yes, it can make delicious quasi-espresso
I say "quasi-espresso" because it doesn't create the characteristic intensity and ultra-thick mouthfeel. I'd liken it to a particularly sweet and smooth moka pot brew.
With a good grinder, you can approximate the flavor of a lungo (a more diluted espresso shot).
It's easy and consistent with the right recipe.
It's also an enjoyable cup or shot by any name.
And, at the very least, it's a fun way to change up your daily brew and get a markedly different flavor profile out of your usual beans.
It's less precarious than the inverted method
The AeroPress's instructions call for brewing right-side up. That means you attach the filter and cap to the chamber, set it on your mug, then fill it up.
The problem is that a lot of water drips through immediately, which dilutes the brew. The easiest solution is the inverted method.
(If you're unfamiliar, I've briefly explained and photographed this in my AeroPress review here.)
However, the inverted method is unstable, and easy to knock over in a hectic or cramped kitchen.
That's where the Prismo comes in.
The Prismo's seal keeps a right-side up AeroPress from dripping as it steeps. You can set it directly on your mug without losing a drop, then simply plunge whenever it's time. No paranoia about bumping into a precariously inverted brew!
The metal filter is travel-friendly
AeroPress paper filters are dirt-cheap and small enough to pack easily. But for long trips, it's hard to call just how many you'll need.
A metal filter is almost endlessly reusable, so it's the perfect travel companion when you'd rather not worry about running out.
It also impacts the flavor in interesting ways.
Brewed coffee contains a very small amount of flavorful, aromatic oils. Paper filters partially absorb them, but they pass right through metal filters and into your cup. You might perceive it as more body and sweetness, although it depends highly on the beans and the grind.
(The trade-off for this added body is a little bit of sludge. Not as much as a French press leaves, but significantly more than with a paper filter.)
What to think twice about
No, it's not true espresso
I want to emphasize that this is not a drawback of the Prismo.
Rather, it's an important point to understand so you buy it with the right expectations.
Real espresso needs around 120-140 psi of pressure during extraction. The surface area of the AeroPress's plunger is about 4 sq. in., so we're talking so we're talking 480-560 total pounds of pressure. If it were even possible to apply that much pressure, it would crumple the AeroPress and shatter the mug rather spectacularly.
Again, what you will get is a rich brew that tastes not unlike a long espresso, but doesn't have the classic espresso viscosity.
It won't make up for a poor grinder
Uneven grinders probably ruin more cups of coffee than anything else.
If you're curious why, then read this article for an explanation plus a few AeroPress-friendly grinder suggestions.
But for our purposes with the Prismo, you'll need a consistent fine grind to get maximum flavor. Otherwise, you end up with some combination of two problems.
Larger chunks of coffee bean are harder to extract. They can't contribute as much to the flavor or body, which yields a duller cup.
Finer, powdery grounds have the opposite effect. They are easily over-extracted, therefore harsh, and can even clog up the filter.
The Prismo can't fix grinder shortcomings, so before you go all in on accessories, spend the money for a good grinder.
It will grind more efficiently at espresso fineness (like the Prismo needs) and will give you better brews with all other methods, too.
There's no adjustment
The point of the Prismo is to increase brewing pressure. And it does.
But it would be significantly more useful if there were a way to change the threshold that opens the valve.
Even just two settings—one lower pressure for normal-strengths brews and one higher pressure for more viscous "shots"—would almost double its utility.
As to how to accomplish that...I wish I knew. In fact, it might be so complicated that Fellow's engineers already considered it and promptly scratched it off the list.
But in the spirit of getting more from less, I'd love to see it happen.
There's only one filter option
A more realistic "adjustment" would be to include a second filter with the AeroPress.
Something far finer, like this ameuus set I use separately, might increase resistance and the clarity of the brew.
The price is a little steep
I didn't buy a Prismo right off the bat because $25 for a plastic fitting seemed a bit much.
Curiosity won out—and I'm glad it did—but if you're on a budget, then the same money covers a quarter the cost of a quality grinder. In terms of overall coffee enjoyment, that's the biggest bang for your buck.
Then again, I realize it's not cheap to design new, useful, and clever things like the Prismo.
Fellow surely racks up a hefty R&D bill, and if higher prices (as with all their products) enable them to keep on going, then good for them! Nothing's wrong with that.
And as a matter of principle, I'd rather pay $25 to Fellow any day than pay half as much to a shameless copycat.
How to make great coffee with the Fellow Prismo
Fellow's own brewing guide is the best starting point for a quasi-espresso brew with the Prismo.
I've yet to find a better approach, but I will add just a few notes and caveats to supplement theirs.
(We moved right before I wrote this portion, and my Prismo got lost in the shuffle. Alas, no pictures.)
Use a sturdy cup or mug
Fellow suggests a demitasse cup (you know, the little espresso ones). That's great, since it's not only the right size, but usually very strong.
If you don't have one, then a regular mug is fine so long as its internal diameter of its opening can fit an AeroPress. (I believe I measured it to a range of 65mm-90mm, but don't quote me on that.)
But if you go the standard-kitchen-mug route, make sure it's a hefty one to withstand the pressure. You'll push far harder than on a regular AeroPress brew, so delicate glass is asking for trouble. Thick glass is generally all right, thick ceramic is better, and steel is obviously fine.
Yes, boiling water is that important
They're right to emphasize using boiling water for your espresso-style Prismo brews.
If you normally decant from a boiling vessel into a pouring kettle, don't. Decanting will instantly cool the water by a few degrees, which is a recipe for disappointing brews.
With full-cup brews (Prismo or otherwise), I don't bother preheating the AeroPress. Its plastic absorbs very little heat compared to the thermal mass of several ounces of water.
But for espresso-style brews, I do recommend preheating the AeroPress by letting it sit with boiling water for about a minute. The difference isn't huge, but with so little thermal mass, we want to retain every degree we can.
Just keep in mind that preheating it leaves the sides wet, which may make it harder to pour ground coffee in. The AeroPress funnel will help with that.
The kettle doesn't matter
I adore the Fellow Stagg EKG kettle and have used it daily for years. It's beautiful, precise, and ergonomic.
Pretty much kettle perfection.
That said, I disagree with their suggestion to use it here.
Of course it's their product and in their interest to do so, but you needn't worry about that kettle or any other.
It doesn't matter for this technique, for the AeroPess more broadly, nor for any other sort of immersion/infusion brewing. The whole point is that water does not drip through (as in percolation), so precise pouring just doesn't matter.
And on the topic of pouring, I'd do so as quickly as possible without overshooting the desired amount of water.
Fellow advises 10-20 seconds to pour, but I believe that's too long for such a small amount of water. Better to pour quickly to reduce heat loss, and start stirring!
Stir constantly
Stirring coffee increases extraction by exposing more grounds, more thoroughly to water.
It does theoretically lower the temperature, since you obviously have to leave the top of the AeroPress open (i.e., plunger out) in order to stir. But I find that the added extraction from stirring more than offsets the effect of any heat loss.
Per Fellow's instructions, start by stirring for 30 seconds straight. Try increasing or decreasing this time, and see whether it helps or hurts the result.
You can also try swirling instead of stirring, perhaps with the plunger slightly inserted to conserve heat.
Don't worry about crema
I hesitate even to open this can of worms, but in short, crema is not a sign of a good shot. It's often more prominent with fresher coffees (due to more gas retention) and higher brewing pressure (which forces gases out).
Fresher coffees taste better across the board, and adequate pressure yields more flavor, but crema per se doesn't cause good flavor. It just correlates with some things that do.
At the risk of splitting hairs, what you might perceive as crema from a Prismo is likelier to be froth.
Whereas coffee pours rather gently out of an espresso machine, it squirts rather forcefully from the Prismo. That turbulence causes it to mix with the air in the cup, creating foam that resembles crema but is produced in a different way and with much larger bubbles.
(Pedantic, I know!)
It's good for regular brews, too
The point of the Prismo is, obviously, to make something reminiscent of espresso.
And that it does.
But it's also a handy travel accessory (no need to bring paper filters), a great drip-preventer (if you find the inverted method cumbersome), and a way to slightly but noticeably increase the body of standard AeroPress brews.
Two budget espresso alternatives
If you're not particularly attached to the AeroPress (or don't even have one), then it's also worth considering a moka pot. I'd suggest an all-steel model like the Bialetti Venus. While I'm not a huge fan of their complexity or taste, they're time-tested devices with scores of fans.
There are also actual espresso makers in the hundred-something-dollar range, like the automatic De'Longhi EC155 or manual Flair Neo. Both are terrific budget choices if you're set on real-deal espresso.
Still, there's something just plain cool about getting so much mileage out of the humble AeroPress. Having owned nearly all the above, the Prismo's sheer simplicity means I enjoy it far more.
In summary: a worthwhile accessory, but temper your expectations
The Prismo is fun, clever, and extremely convenient. While it's not cheap for a plastic fitting, it won't break the bank for most of us, either.
And it does indeed let you brew far closer to espresso than the AeroPress alone can pull off.
As long as you keep in mind that it's nowhere near the intensity or viscosity of real espresso, then I recommend it.
If nothing else, it's a no-brainer for all of us AeroPress fans who enjoy experimenting.
If the Prismo sounds like a fun way to change up your AeroPress routine, then grab one here.