3 Tips For The Best Black Coffee You've Ever Brewed (Without Adding Anything)
It's super frustrating to get an awesome coffee brewing set-up...buy a new bag of beans...whip up a cup...and get something dull or harsh in your cup.
Yeah, could add cream and sugar until it barely resembles coffee. At least that's palatable?
But assuming you like the taste of coffee in the first place, all you actually need for a good taste is the right coffee, the right equipment, and the right process.
To make black coffee taste its best, you need to do three things. First, buy fresh coffee, preferably no more than a few days after roasting. Second, make sure you're using a high-quality grinder. Third, measure your coffee and water precisely to brew to the right strength.
Some of those are more obvious than others, so I'll elaborate later.
And if you're in a hurry to figure out where to get the best-tasting coffee beans, skip ahead to the end where I share my personal favorite source.
But first, let's detour into what actually happens when you roast and brew coffee. The brewing tips that follow will make more sense with that background info.
Ready?
Table of Contents
How Roasting & Brewing Affect Coffee's Taste (Super-Simple Chemistry)
This won't be nearly as painful as the heading suggests, mostly because I hardly know anything about chemistry.
That said, a few facts did help me understand what makes for good cups, and how to create them consistently.
And that last part--consistency--is the hardest. More on that later.
How roasting affects flavor
Anyway, roasting coffee dries up the beans and very gradually caramelizes the sugars inside them.
Generally speaking, here's how the same coffee evolves as it's roasted more:
- Light roasts keep more fruit and (pleasant) acidity that is distinctive to their origin. (If that's a new concept to you, then go here for my quick intro to single-origin coffee.)
- Medium roasts draw out earthy and chocolatey flavors, but in a way that's still unique to the origin. Acidity may still be noticeable, too.
- Dark roasts...start to taste like charcoal. Characteristics of the origin are subtler, and possibly gone altogether.
Now, different beans have more or less of certain flavors in the first place, but the overall spectrum is about right.
Physically, the beans also change, just like anything else exposed to heat. The most important change is that in darker-roasted beans, it gets easier for water to reach the dissolvable parts.
All else being equal, that's why dark roasts brew more quickly and/or at a lower temperature than light roasts of the exact same crop.
In my experience, different varietals and origins also brew a little differently even at the same roast level.
The mineral content of the water also matters. It has a huge effect on the final taste, both from the minerals themselves and from how they interact with the grounds.
The fineness of the grind also affects how the beans' contents dissolves, since it exposes more or less of them to water.
How the brewing process affects flavor
In short, brewing coffee involves tons of factors interacting with each other at the same time.
All that complicated business determines how much of which flavorful substances end up in your cup. How it tastes, in other words.
The point of specialty coffee nerdiness is to try a range of good beans and experience them at their best.
You get there through continual experimentation, small adjustments to consecutive batches, and eventually a bit of intuition.
Point being: when you brew pour-over coffee, factors like the water temperature, flow rate, pouring pattern, and the device itself are within your immediate control.
With automatic coffee makers, those are hard or impossible to change.
Automatic brewers generally don't work well for single batches, either. (And you always want to test your fancier coffees with a single serving, lest you ruin a whole batch!)
By the same token, if your ideal cup of coffee is identical from day to day, or the process itself is more irritating than satisfying, then pour-over brewing is probably not worth the hassle.
What To Do When Your Brew Tastes "Off"
Whew, that was a lot. Thanks for sticking with me.
Now that we've covered what's actually happening during roasting and brewing, the solutions will make more sense.
Better yet, you'll start figuring out what worked and what didn't just based on the taste.
Choose very fresh beans for full flavor
Many supermarkets stock coffee from good roasters. For instance, here on the west coast, it's easy to find Stumptown in your neighborhood store.
Even Trader Joe's is trying to tap into the specialty coffee market. Every month or two, they'll release a new "small-batch" coffee in a bag with seriously cool artwork.
And that's all good…
But they all tend to be horrendously stale.
The thing is, fresh coffee doesn't mean just freshly opened. It needs to be freshly roasted.
Unless you're a serious coffee connoisseur or home roaster, you probably didn't know that beans peak just 1-2 weeks after roasting. Some remain decent for a month or so.
Past that point, the coffee oils and aromatic compounds will decline quickly if they haven't already.
Unfortunately, it's rare to find coffee less than a month old at most grocery stores. Three-plus months is common.
Even if the best-before date is still a long way off, you won't experience it at anything close to its best.
Instead, try to buy from a local specialty coffee shop. It still doesn't hurt to check dates, but you're practically guaranteed to find something fresh.
And if that isn't feasible, then I'm a huge fan of services like Angels' Cup. They, and similar subscriptions, are your next-best option.
Upgrading your grinder may be a game-changer
You probably know that it's best to grind coffee right before brewing.
It breaks down just like any organic substance. The finer it's ground, the more quickly that happens.
Whether your beans are fresh or stale, they'll always taste richer if ground at the last minute (or even within the last couple hours).
But there's another consideration. Cheap grinders just don't do it well.
How so?
Well, earlier I mentioned that the grind size affects how the coffee is exposed to water. In turn, that affects how the flavors dissolve into the water.
When the grounds are all sorts of different sizes, then this process doesn't happen evenly. The finest, dust-like particles are completely over-extracted (a harsh flavor) while the coarsest "boulders" remain under-extracted (a weak, even sour flavor).
It's the worst of both ends of the spectrum...at the same time.
Blade grinders are infamously uneven. Cheap burr grinders--usually characterized by ceramic burrs that fit a bit loosely--can be almost as bad.
Instead, look for steel burrs mounted snugly on a smooth bearing. This design gives a very even grind, and in turn, consistently tasty coffee.
Now, good ones aren't cheap.
After all, they're good because of intricate parts with precise craftsmanship. That just isn't possible for less than about $100-something.
You can spend significantly more than that, but I don't believe it's necessary.
In terms of value, it's hard to beat the handheld Timemore Chestnut (reviewed here).
Or, if you prefer an electric grinder's speed and don't mind its noise, then I can attest that the Baratza Encore lives up to its excellent reputation.
Get a scale (and perhaps gooseneck kettle)
Coffee freshness and grinder quality apply to any brewing method.
By and large, those two factors will make an immediate difference. But that doesn't mean there's nothing left to try.
Brewed coffee is nothing but a solid dissolved in a liquid, so you'll also want to know how much of said solid and liquid you're using.
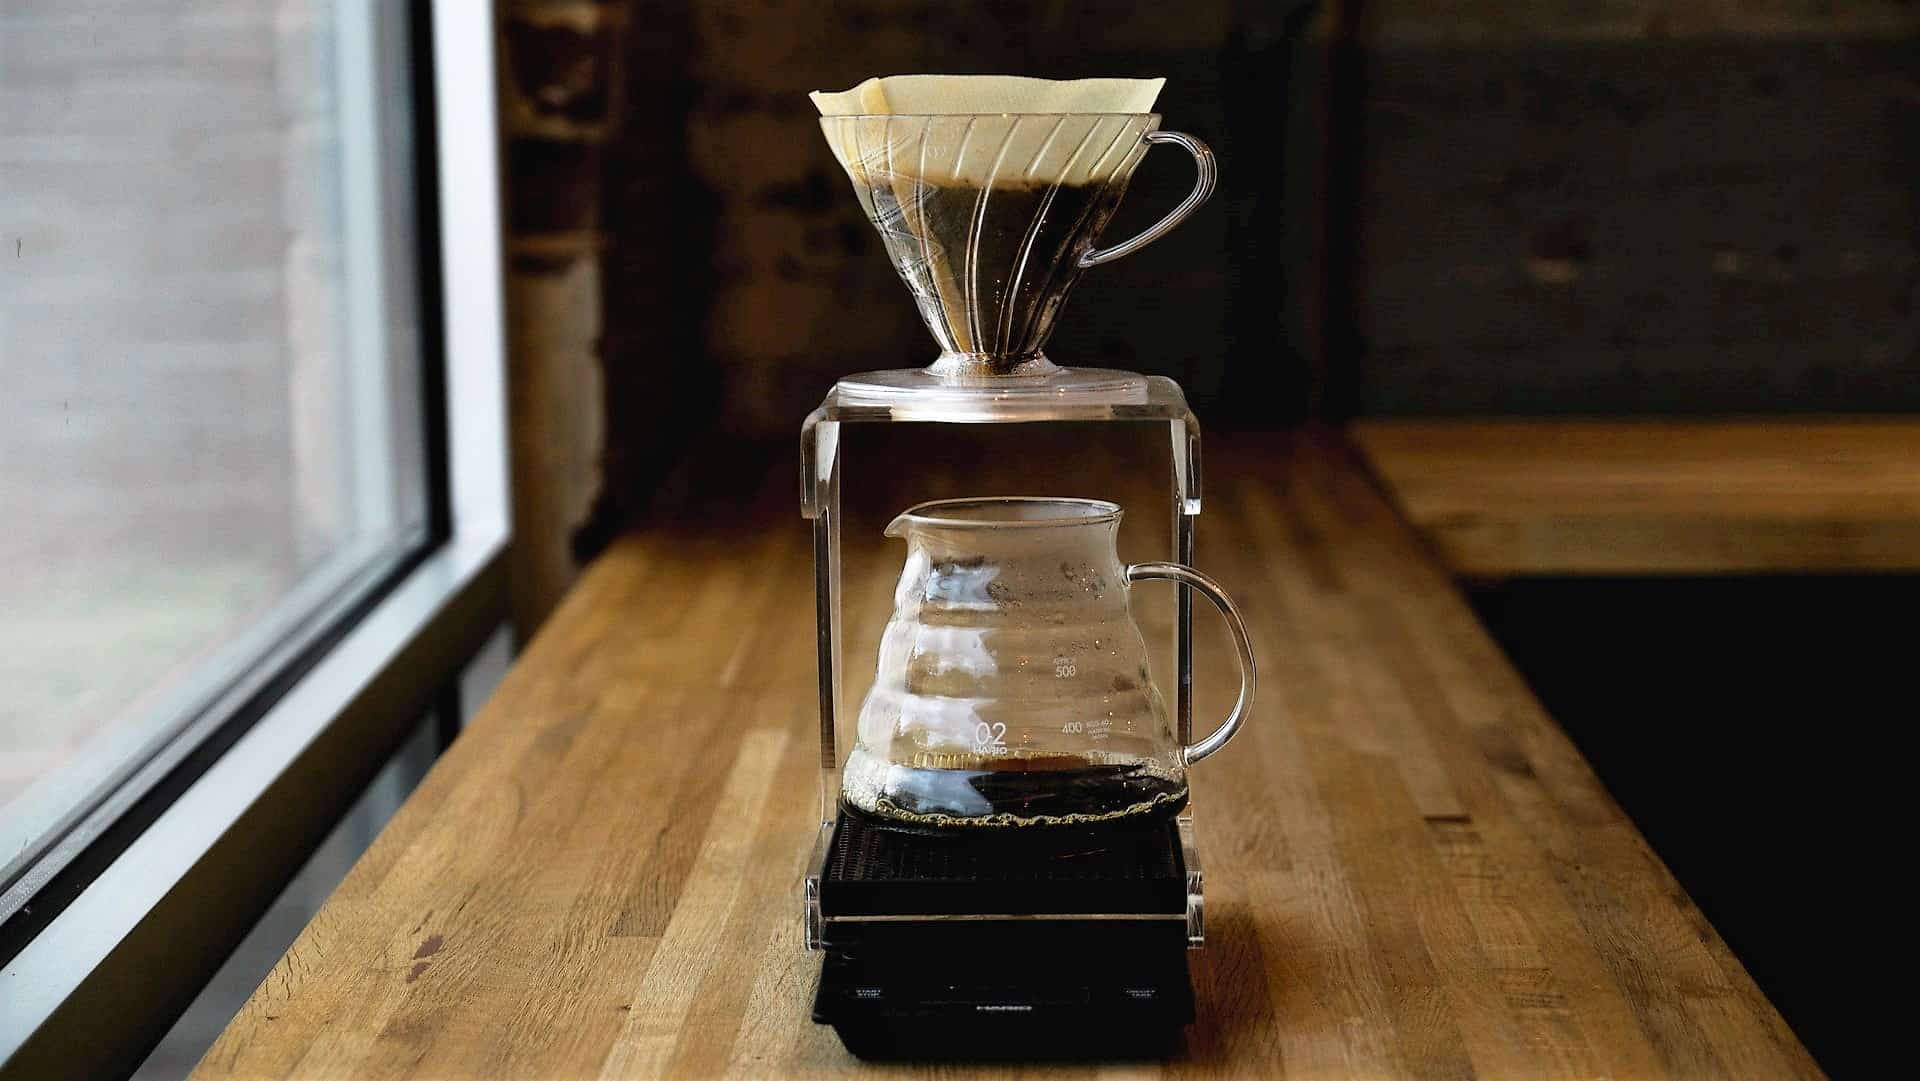
This, of course, requires a scale.
If you're inclined, you can spend a surprising amount on a trendy Bluetooth-enabled one that looks like an Apple store display.
But all it actually requires is a basic kitchen scale, with a gram mode, that you can find almost anywhere for $20 or elss.
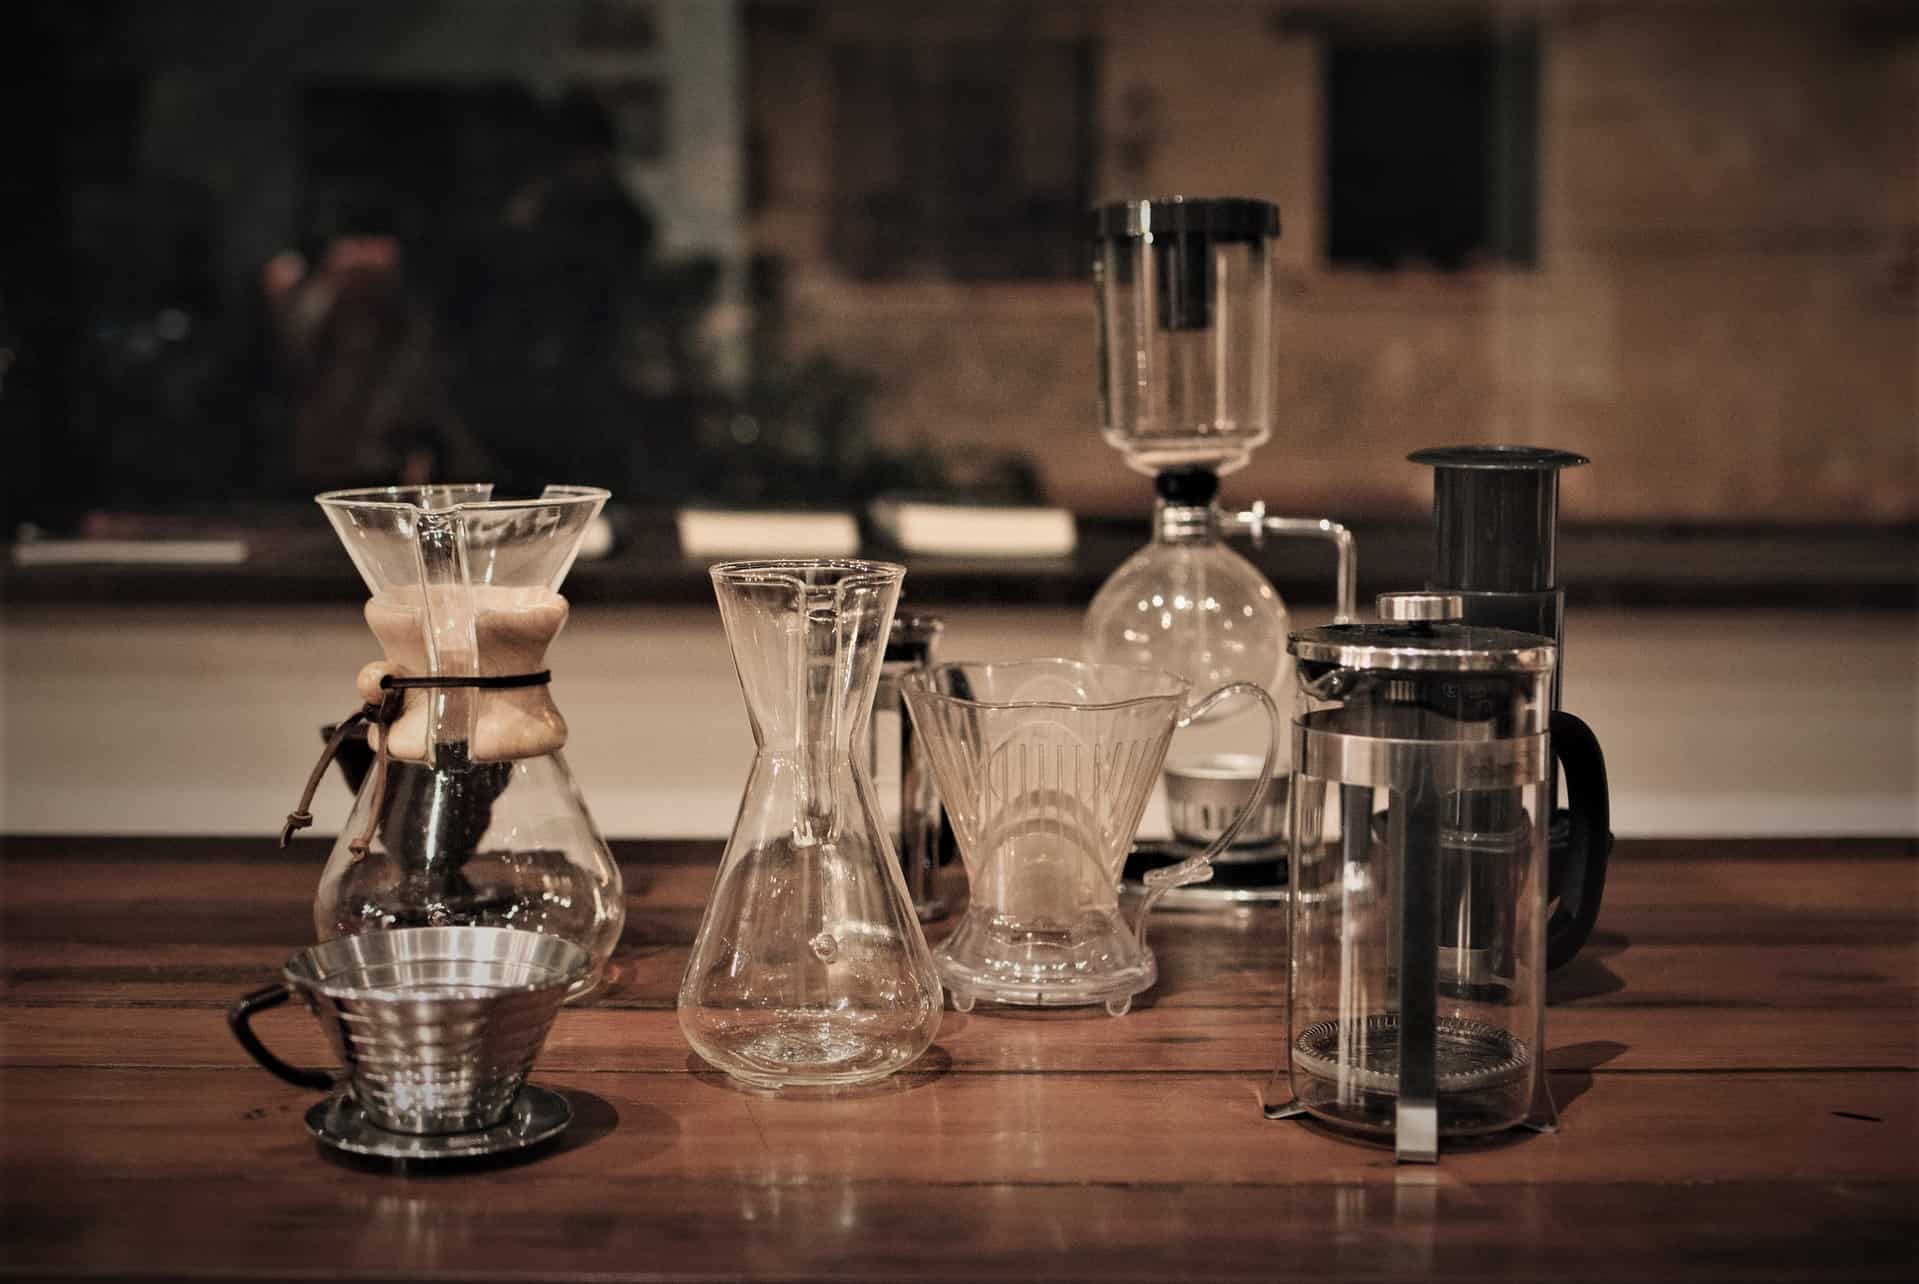
A good rule of thumb is 17 grams of water per 1 gram of coffee. Do test, of course, but that gives me a consistently rich and smooth pour-over brew on a V60, Chemex, or just about anything else.
(For immersion brewers, like an AeroPress or French press, you can start with a stronger ratio of just 14 grams of water per 1 gram of coffee.)
While I can and do eyeball these measurements on the road, the results are never as consistent as with a scale.
And if you're partial to pour-overs, then consider a gooseneck kettle for more precise pouring.
My go-to suggestions are Bonavita's inexpensive stovetop model (check the price here) or the much more deluxe Fellow Stagg EKG (available here). The latter is expensive, but it's so attractive, practical, and ergonomic that I use it every single day.
You might be thinking this whole coffee thing is a lot more complicated than it looks.
And that's not wrong: it certainly can be.
Now, I like to geek out on everything from home roasting machines to pour-over filter types, but it doesn't have to be rocket science, either.
Just a few simple steps or purchases will practically guarantee the best coffee you've ever had at home.
We've seen how to ensure a decent cup by choosing truly fresh beans and running them through a high-quality grinder.
We've also seen how to get more consistent brews by measuring the right water-to-coffee ratio. A purpose-built kettle for pour-overs doesn't hurt, either.
Like anything in the kitchen, a bit of practice and attention to detail go a very long way with coffee.
No cream or sugar required.
By the way, tasting a wide range of quality coffees is the best way to figure out what you like (or don't like). After several months, Angels' Cup is my favorite way to find them.
I briefly mentioned it above. And since you've read this far, I think you'll like it, too. Check out my review here.
